Decorated Cookies Recipe and Tutorial

No Chill No Spread Sugar Cookie Recipe and Decorating Tutorial

Decorated Biscuits

Quick heads up for international readers: I’m Australian, and here, we call cookies “biscuits”. What Americans call Biscuits most Aussies would recognise as a sort of savoury scone…  So it may take you a bit to get used to me referring to cookies as Biscuits, but stick with it, this is a super handy recipe and tutorial. 


Decorated biscuits look great as an accompaniment to a cake, but they can also be incorporated into the final design of the cake or better yet, used as a cake topper, or as the base for a name or greeting plaque, or to create structural elements as part of the overall design. 

There is a brief tutorial below which shows how to use fondant to mimic the look of flooded royal Icing. I also have a full royal Icing tutorial here: http://v90.73b.myftpupload.com/royal-icing/
I like to mix fondant and royal icing covered biscuits and like to use multiple techniques when I make sets of decorated biscuits, it speeds things up, but also adds more textures and more interest. 


Decorated biscuits are also a great way to improve your cake decorating skills and try new techniques. Biscuits covered in fondant or royal icing provide a convenient surface to practice decorating with an airbrush, painting with colours and lustre dusts mixed with decorator’s alcohol. They can also be painted with cocoa butter, decorated with piped or stencilled royal icing, decorated with wafer paper, moulded fondant or modelling chocolate, the list is endless.

Rich vanilla biscuits – no chill – no spread biscuit dough


This is my favourite recipe for making decorated biscuits. It does not need to be chilled, and is easy to work with in a hot kitchen and best of all it doesn’t spread when it’s cooking. It has the structural integrity of good gingerbread, but in a lighter, delicious, shortbread-like biscuit – this makes it perfect for constructing gingerbread houses, or cutting intricate or interlocking biscuit pieces where precision is important. 


The base recipe can be altered to incorporate different flavours. The texture can be altered by varying the cooking time. Less time will result in softer cookie-like biscuits with a gentle crunch; more time makes crunchier biscuits that are more like shortbread to eat.


Avoid using regular plain flour. The recipe is designed to work with cake flour, low protein cake/biscuit flour allows the dough to be kneaded and re-kneaded several times without becoming tough, cake flour doesn’t form tough gluten strands as quickly as regular plain flour. 


Cookie cutters speed things up, but it’s not always possible to find the perfect cookie cutter for a project, the method below makes it easier to make any shape of biscuit by cutting around the edge of a paper or cardboard template. 


You can even cut an interlocking pattern into the surface so the biscuit can be disassembled and reassembled like a jigsaw puzzle after it has been baked. To make interlocking biscuits, cut the pattern, cook for ten minutes, recut the pattern in the still hot dough and return it to the oven to finish cooking. Once cooked, recut the pattern a final time while the biscuit is still hot. Allow it to cool completely on the tray before disassembling it.

INGREDIENTS


Biscuits 

225g Soft Unsalted Butter
225g Caster sugar
1 heaped tablespoon of concentrated natural vanilla extract
1/3 teaspoon almond essence

1 egg

1 level teaspoon of baking powder
1 teaspoon fine table salt

500g cake/biscuit flour – “soft” low protein flour

1 or two teaspoons water if needed 
Optional Pinch of nutmeg, or cinnamon, and/or a teaspoon of fine citrus zest


Variations

My Favourite variation of this recipe is Chai spice flavour with orange zest.


To make chai spiced biscuits include orange and spice mix in with the dry ingredients

To the flour mixture add:

1 teaspoon Orange zest
2 teaspoons of Chai Spice mix.


Chai Spice mix –  Makes more than will be used, but it is necessary to make more to get the ratios right. It’s a nice spice mix to have around to jazz up other baking, or to flavour custards and sauces. I also use it in to make chai spiced crème brûlée.

3 teaspoons Ground cinnamon
1 1/2 tsp ground Ginger
½  tsp Ground cardamom

¼ tsp fine ground black pepper
1/2 tsp ground allspice
1/16th tsp ground cloves
½ tsp ground coriander seed

1/3 tsp ground nutmeg

Biscuit Method: 


Place all dry ingredients in a large bowl. Combine the butter into the flour by “cutting” it in with a pastry blender (it’s a cheap tool, just a handle with 4 or five wires that helps to cut the butter in, it’s worth getting one) or use a butter knife to break it up and rub the butter into the flour with finger tips until the mixture has a fine crumb-like consistency. Or use the paddle attachment in a stand mixer on medium until a fine crumb-like texture is achieved.


Mix the vanilla and the 1/3 of a teaspoon of almond essence with the egg in a small bowl and briefly beat with a fork to break up the egg. 


Make a well in the flour mix, pour in the egg mix, and knead until it begins to come together.

The dough is very crumbly and will not easily form a smooth ball, it may be necessary to tip it onto a bench to try to knead it together. If necessary add one or two teaspoons of water to the dough to help it come together, but no more or the dough will spread as it cooks. 


Cover with cling film and set the dough aside to rest for 10 minutes. 
This is, and should be, a very dry, short and crumbly dough.


Cut two sheets of baking paper to fit into a baking tray.


Break up/crumble the dough to roughly cover the surface of the paper. Cover with the other sheet of baking paper and roll to 3 mm thick starting from the middle and rolling to the edges. The dough will squeeze out past the edge of the paper. The dough must be rolled between sheets of baking paper to give a uniform and smooth surface, never roll it directly or it will stick to the rolling pin and tear.


Remove the top sheet of paper and trim off edges using a long bench scraper. 


Cut the design into the biscuit with a cookie cutter, or use a scalpel or craft knife and follow around the edge of a template if using one. Use a small palette knife to lift the excess dough away. Do not try to lift the biscuits off the paper lift the excess off and leave the biscuits undisturbed.


Slide a thin flexible chopping mat under the paper with the cut out biscuits on it and then transfer it to the biscuit tray.


Bake at 160 degrees Celcius for 18 minutes, the biscuits should be starting to go a light golden-brown colour at the edges. Stop cooking now if you prefer a soft texture to the biscuit. If you prefer a crispier biscuit, drop the temperature to 140C and cook for another 5-10 minutes. Baking time will depend on the thickness of the biscuits. 


Cool on the tray for five minutes before moving to a cooling rack.

Decorating with fondant:

Nothing beats the look of a biscuit flooded with a perfect layer of shiny run out royal icing, but it can be time consuming, and requires a long time to set before it can be decorated further. I have a full Tutorial on how to make and decorate with royal icing: http://v90.73b.myftpupload.com/royal-icing/ 


Fortunately, it is possible to mimic the effect using fondant.


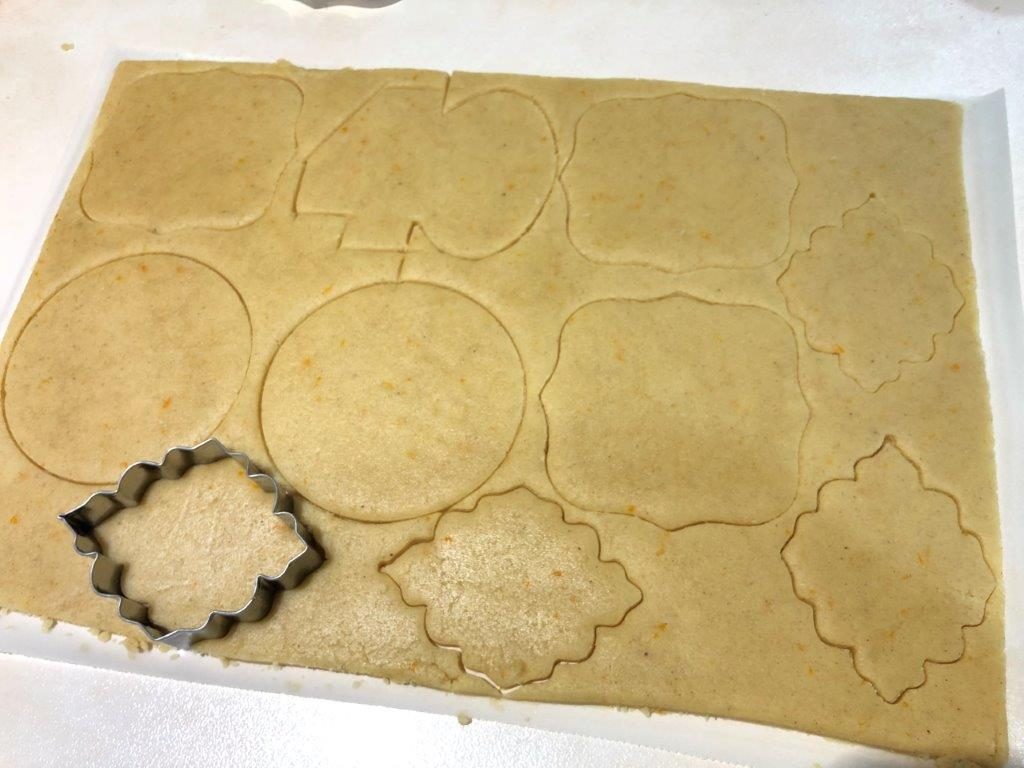
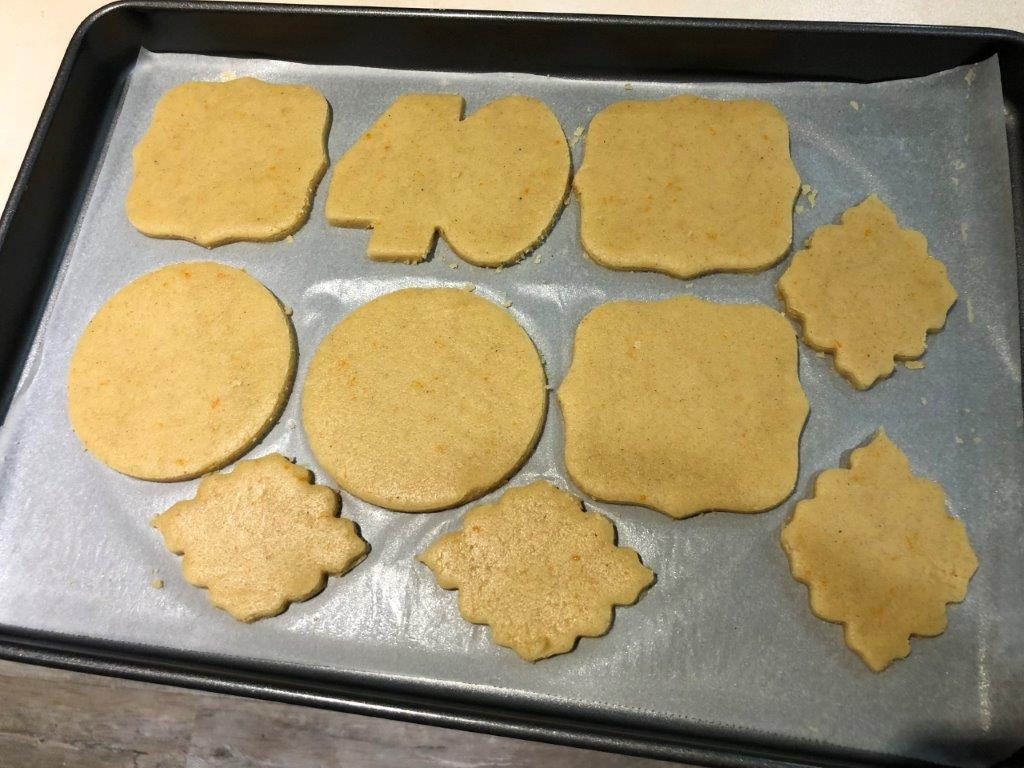
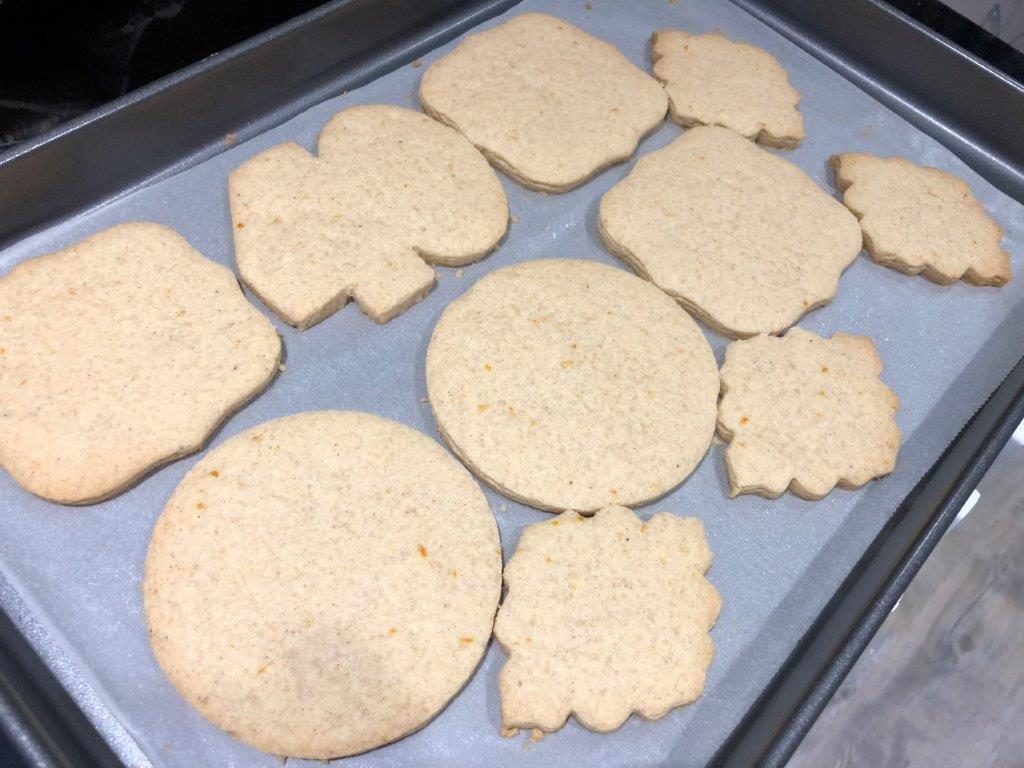
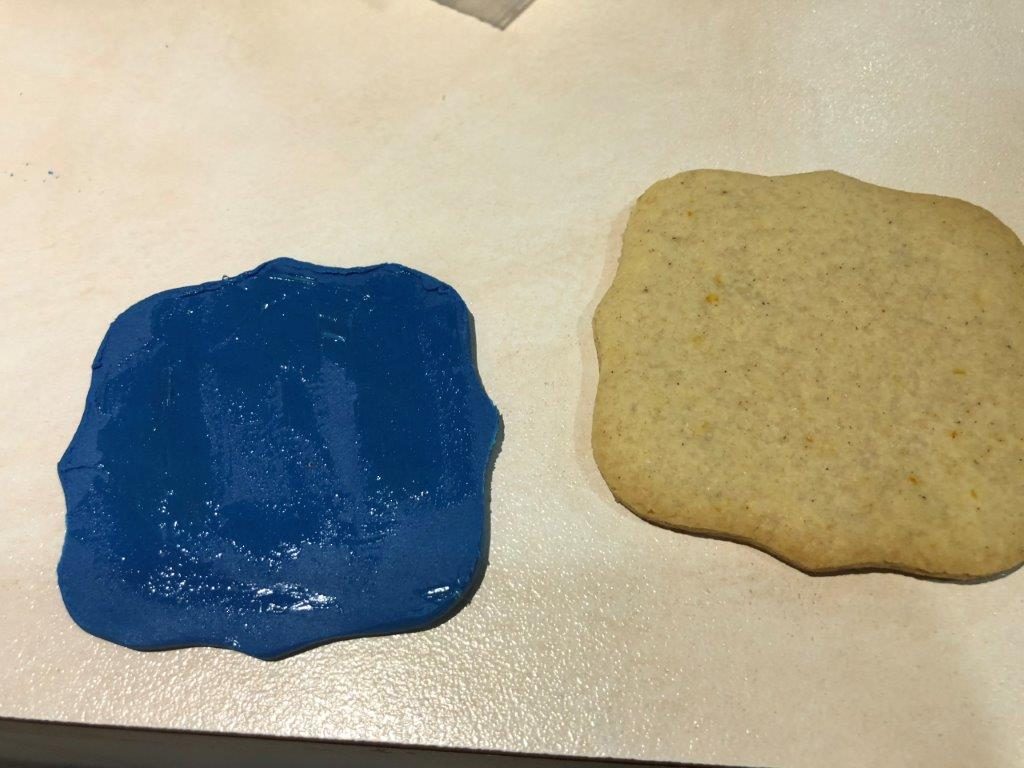
Use a fancy plaque shaped cutter to cut biscuits.

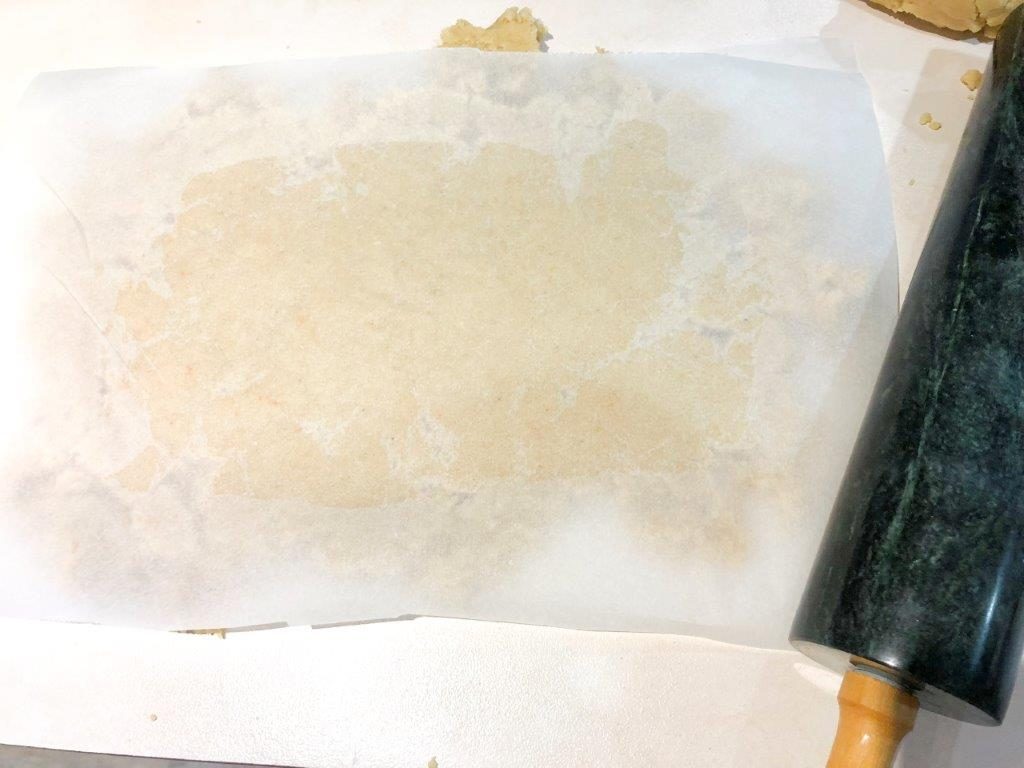
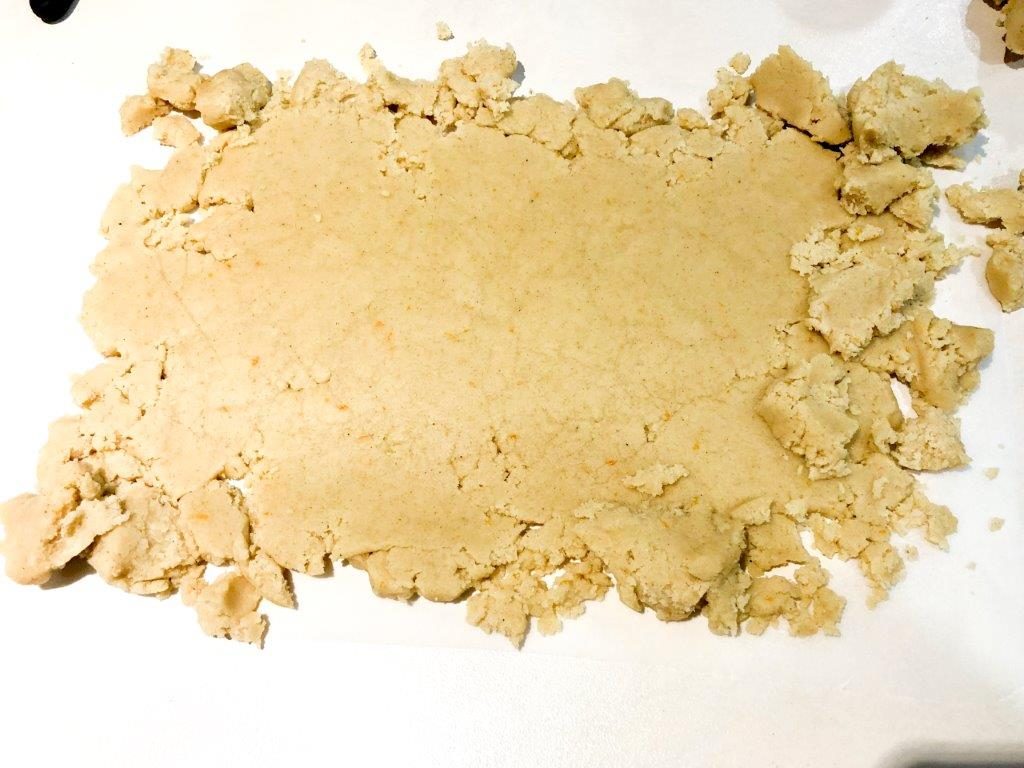
Roll out fondant to a thickness of about 2 mm, dusting it with icing sugar to stop it from sticking to the work surface or rolling pin. Don’t use cornflour to roll the fondant, it will dry the fondant too quickly and make it prone to “elephant skin”, leave white marks and make for a rougher finish.


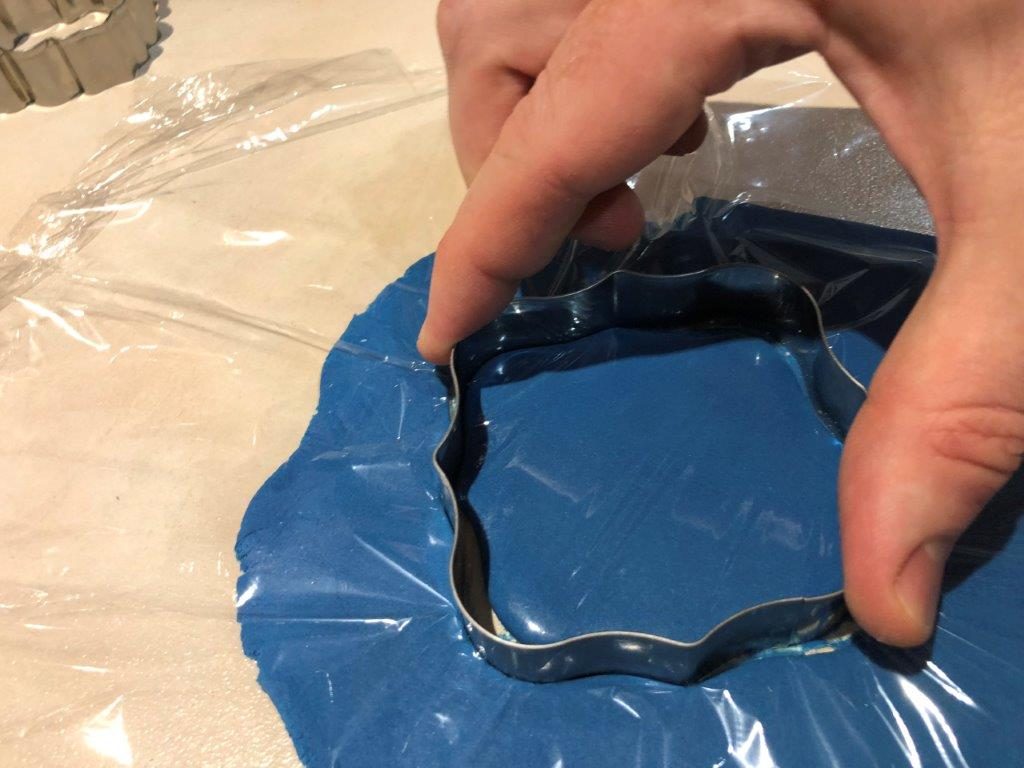
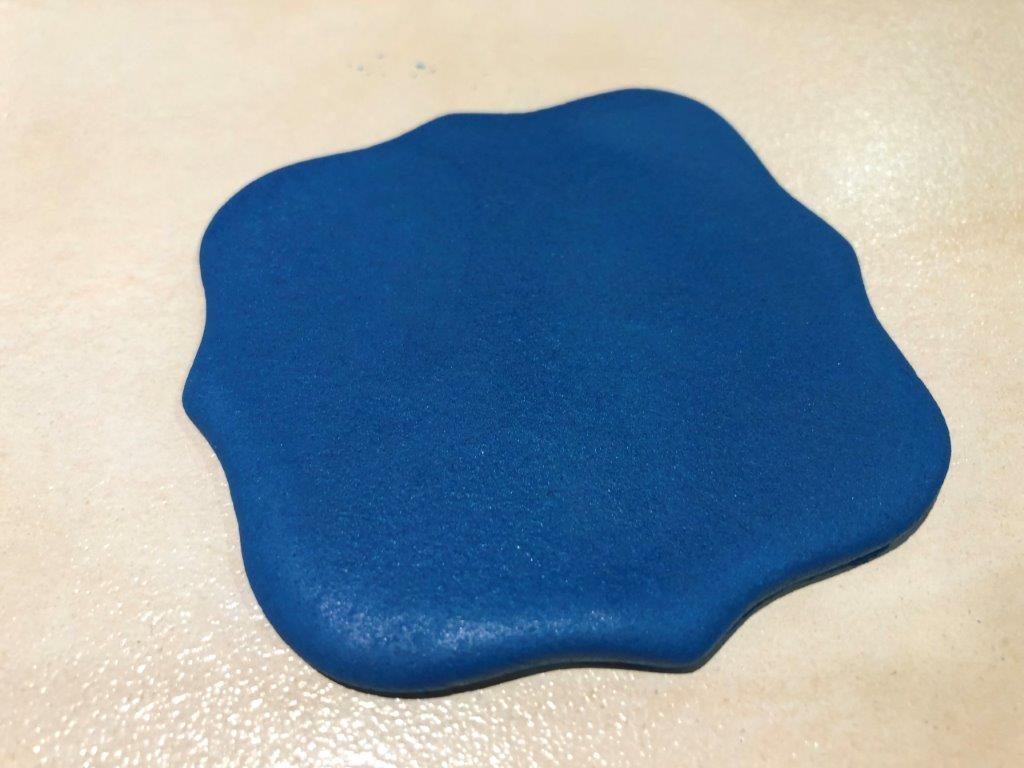
Use a fondant smoother or a small blob of excess fondant to polish the surface to a smooth and slightly shiny finish. Cover the sheet of rolled fondant with a piece of cling film, when cut this will give the fondant a rounded edge. Use the same sized cookie cutter as used to cut the biscuit and press into the fondant through the cling film.


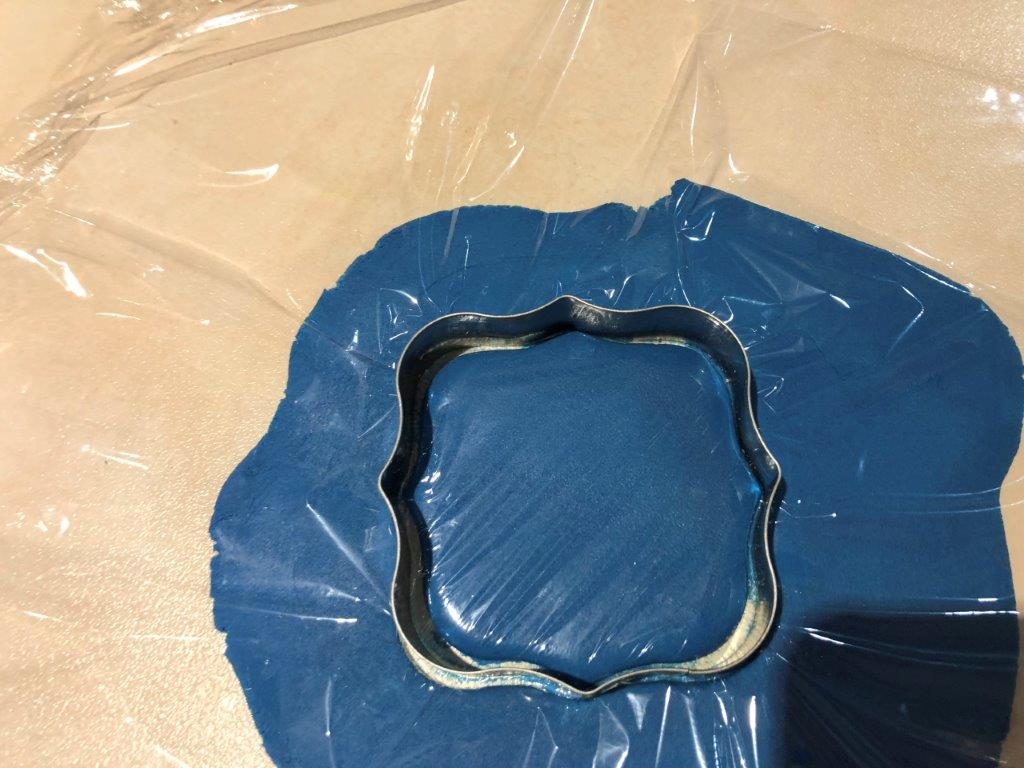
While the cutter is still in place, flat against the work surface through the cling film, squeeze it from each side to further round the edges and shrink down the size of the fondant piece so it will be slightly smaller than the biscuit. Remove the clingfilm, tidy up any rough edges by running a finger around the edge.


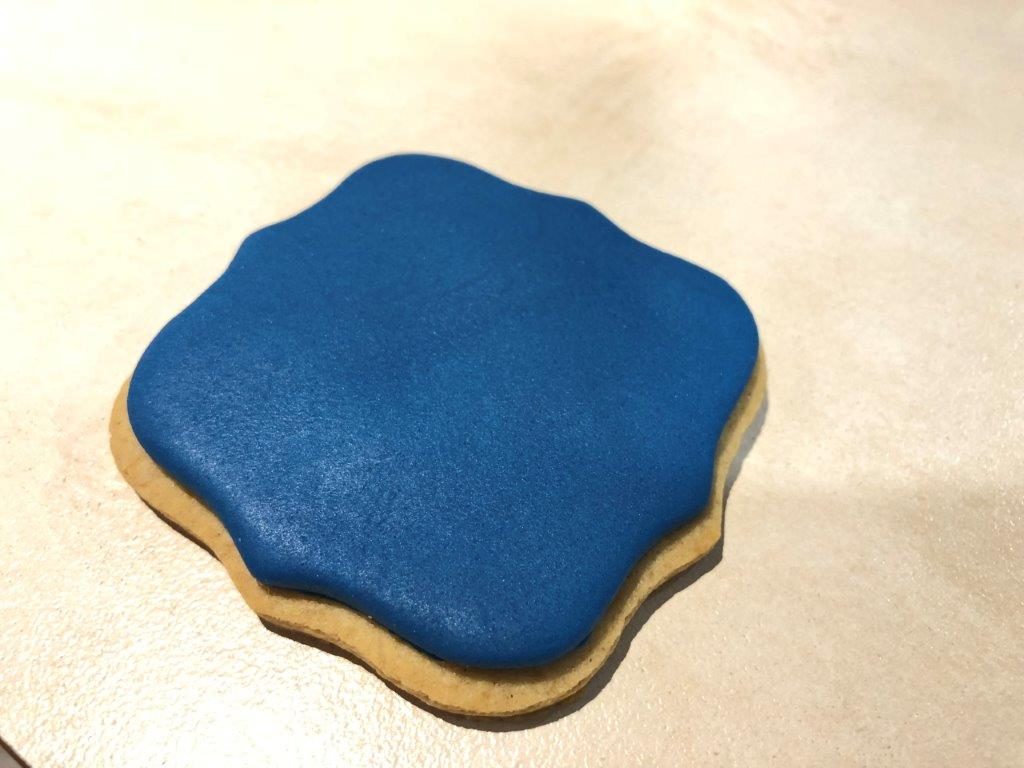
Paint the back of the fondant piece with piping gel and secure into place on the biscuit. The fondant piece should be slightly smaller than the biscuit so there is a pleasing border of biscuit around the edge micking the look of a flooded biscuit.


Set the fondant:  Bake the fondant covered biscuits for 10 -15 minutes at 80 degrees C. While it’s still warm the fondant will be very soft but when it cools it will harden up like well-set royal icing and provide a stable surface to decorate. The baked fondant goes slightly crunchy, like royal icing and is quite pleasant to eat. Depending on the design, add all the fondant layers before baking, or re-bake after adding more layers of fondant decoration so all the layers are crunchy and set.
 Steaming the fondant before baking it will melt any excess icing sugar and make the surface of the fondant look shiny. 


This same method is great for covering cake boards, bake the fondant covered board at 80 degrees and the fondant covered board will be easier to handle while decorating a cake on the board.

It is best not to re-bake biscuits that have been decorated in royal icing as the royal icing tends to go yellow if it is heated above 60 degrees. 


Tip: If the fondant is too soft it may be necessary to add a pinch of CMC or tylose powder to help firm it up slightly faster and make it easier to handle.

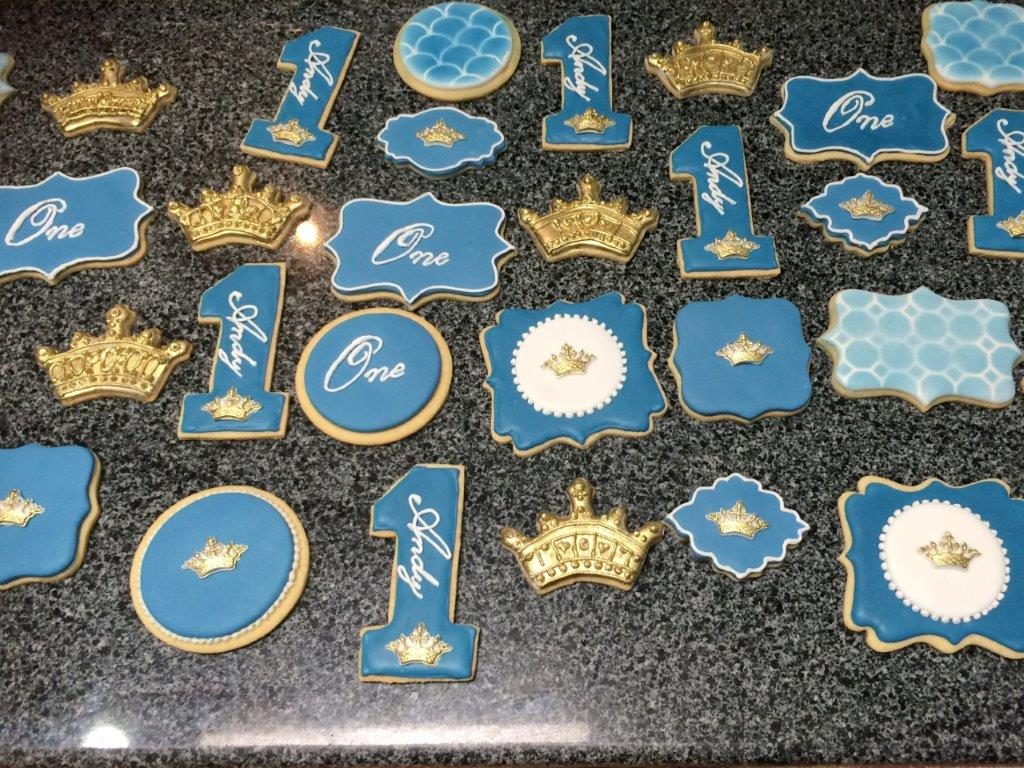
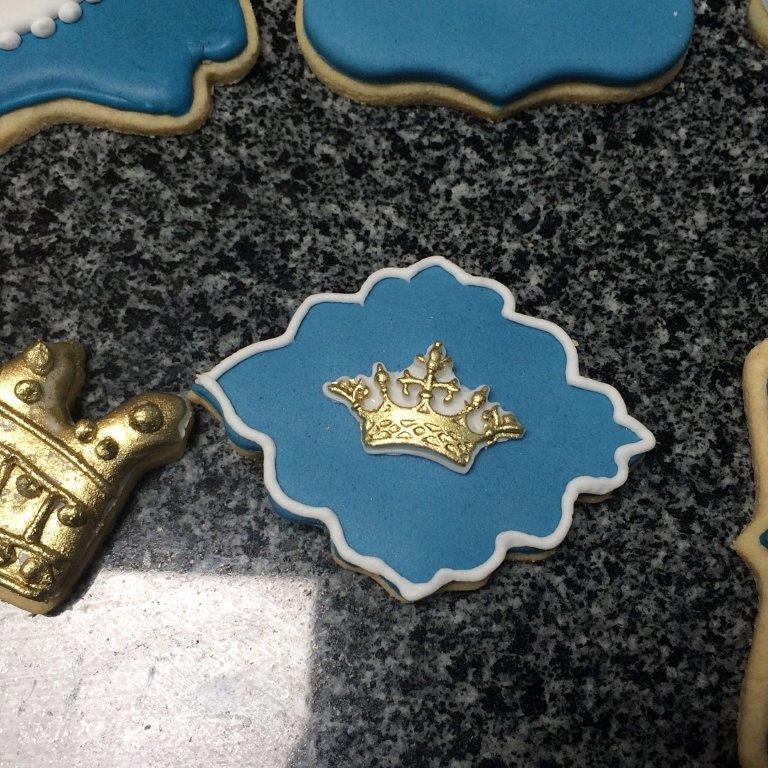
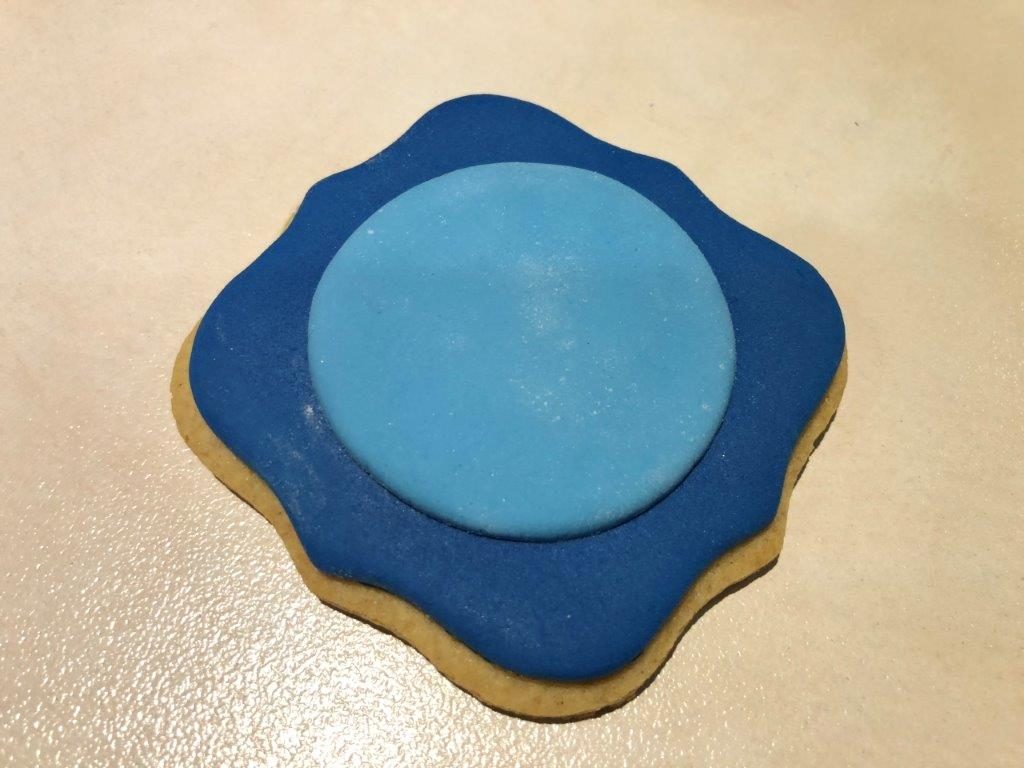
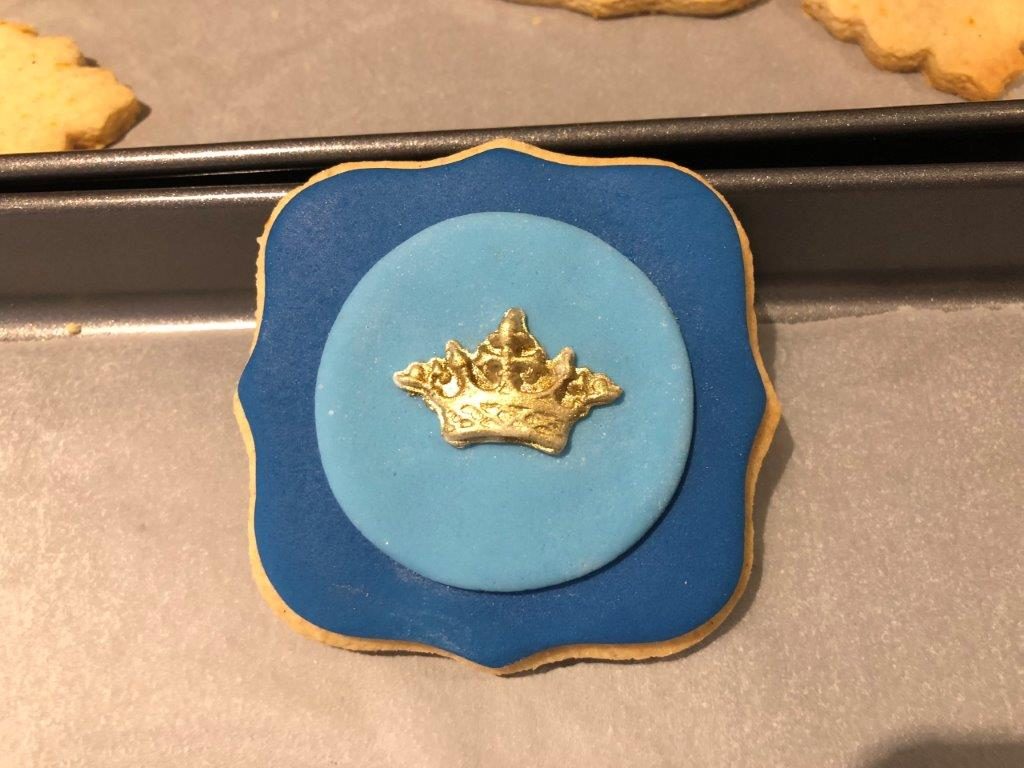
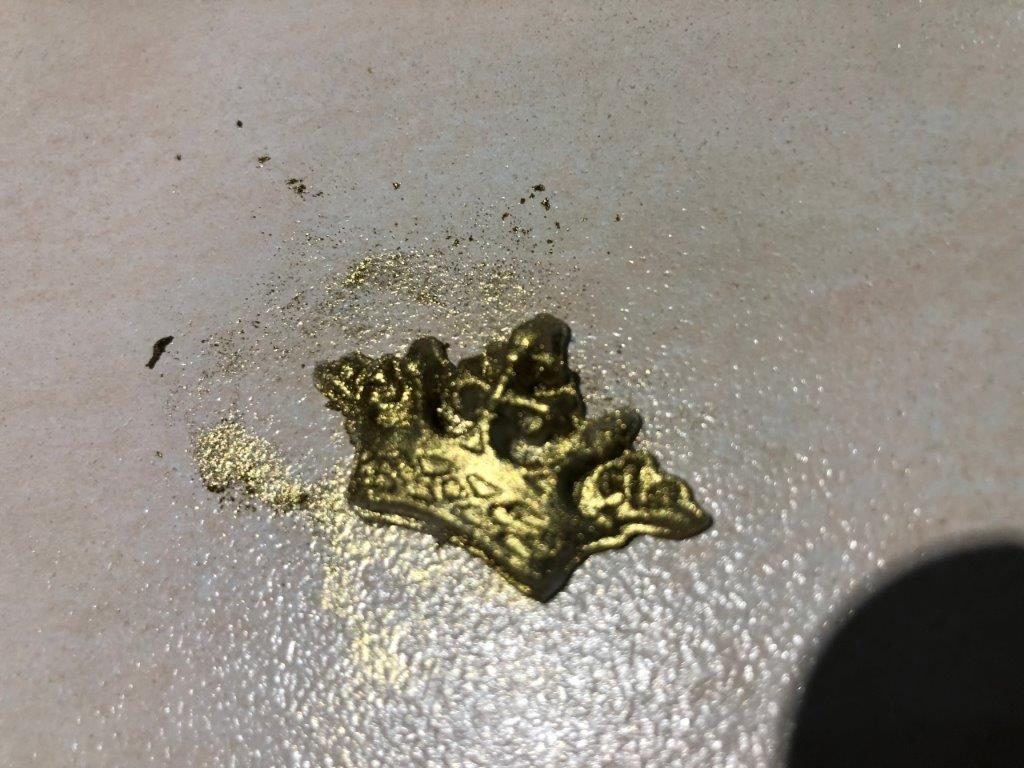
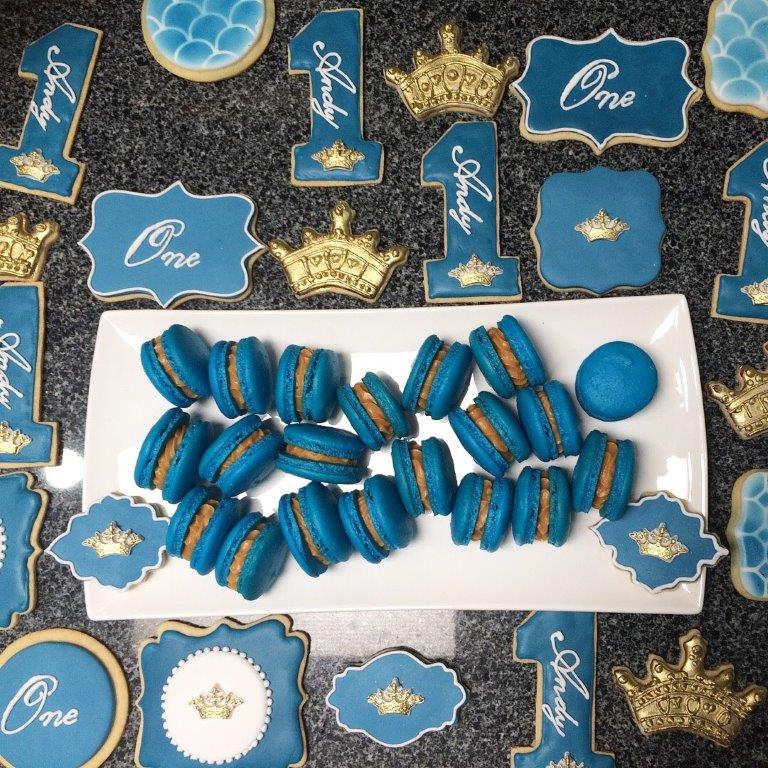
The mini crown biscuits shown here are made my adding smaller circles of fondant to the top to provide a frame for the small moulded crown. Biscuits can be finished by piping a small border around the edge of the fondant or by adding more details in royal icing or painting extra detail with lustre dust.


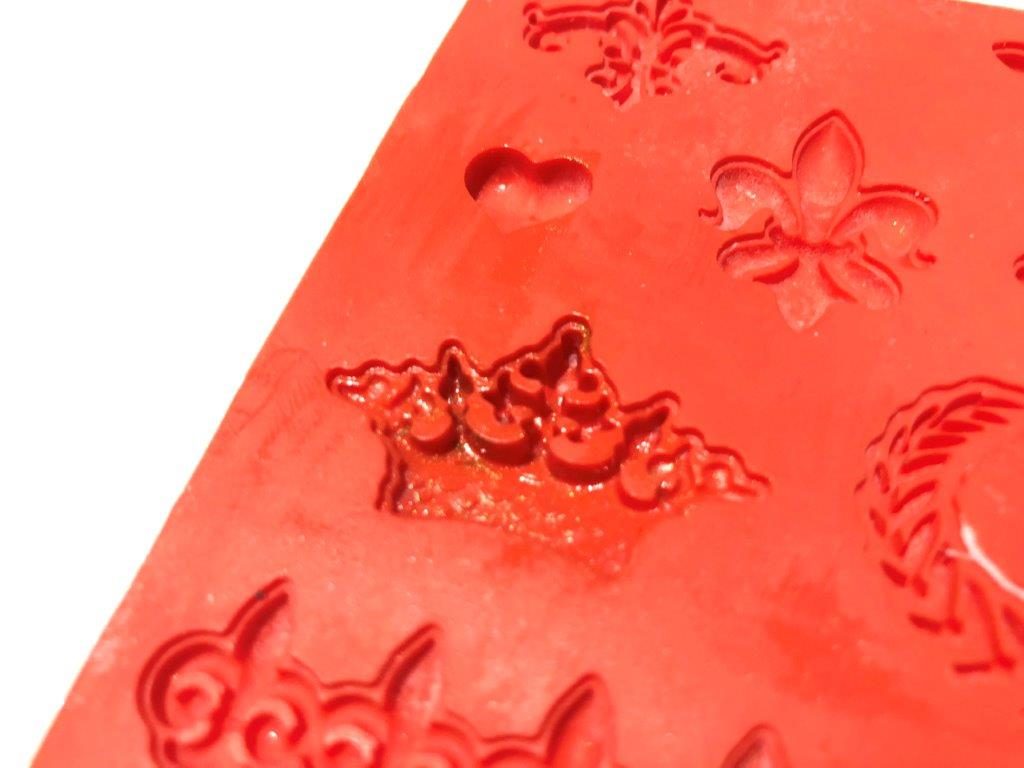
Tip: Very small detailed fondant moulds can sometimes be hard to work with, but they don’t have to be. 
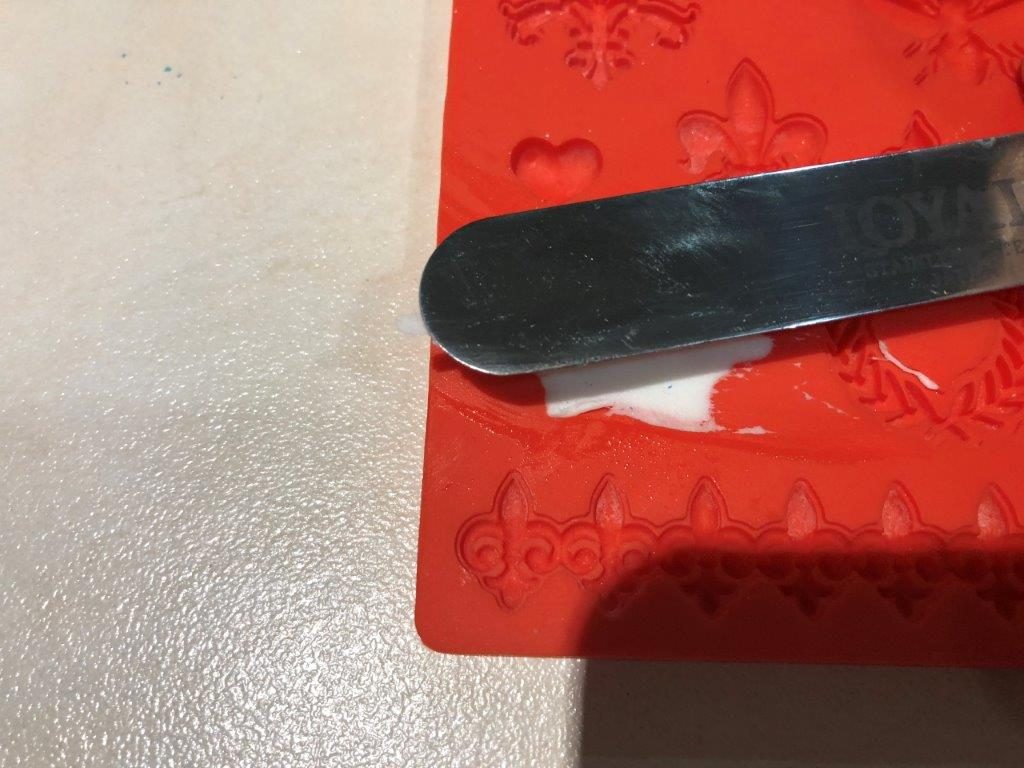
Mix a pinch of CMC (tylose) into a small piece of fondant, use a small paintbrush to cover the mould with a thin layer of vegetable oil. Press the fondant into the mould and use a lightly oiled palette knife to spread it, working from the middle of the piece to the outsides. Smear the excess off against the edges of the mould and use a fingertip to tidy the edge. Tap the mould sharply from the back a few times to jettison the piece from the mould without stretching it.


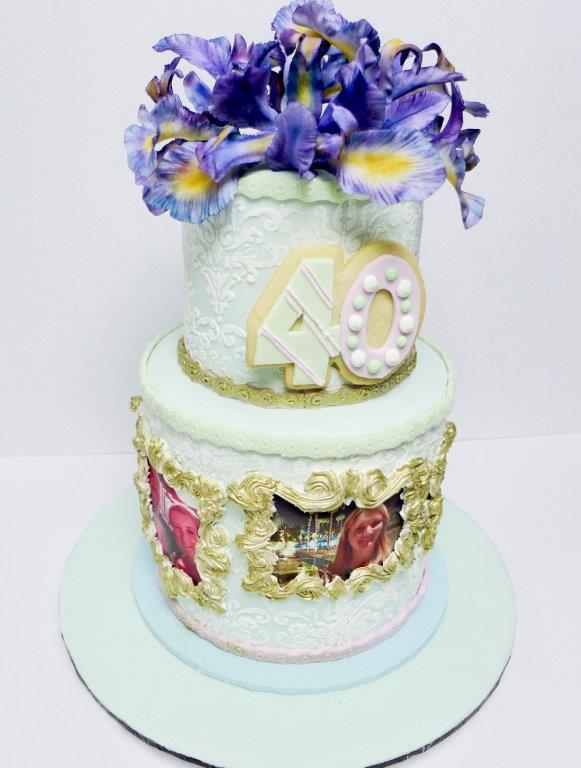
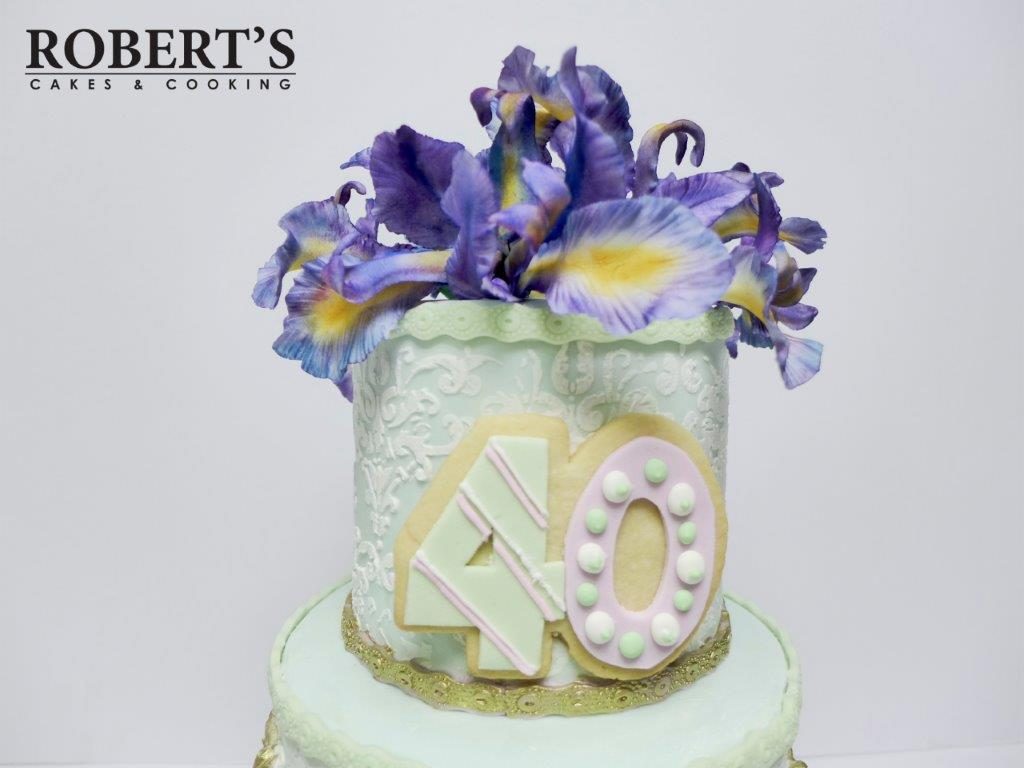
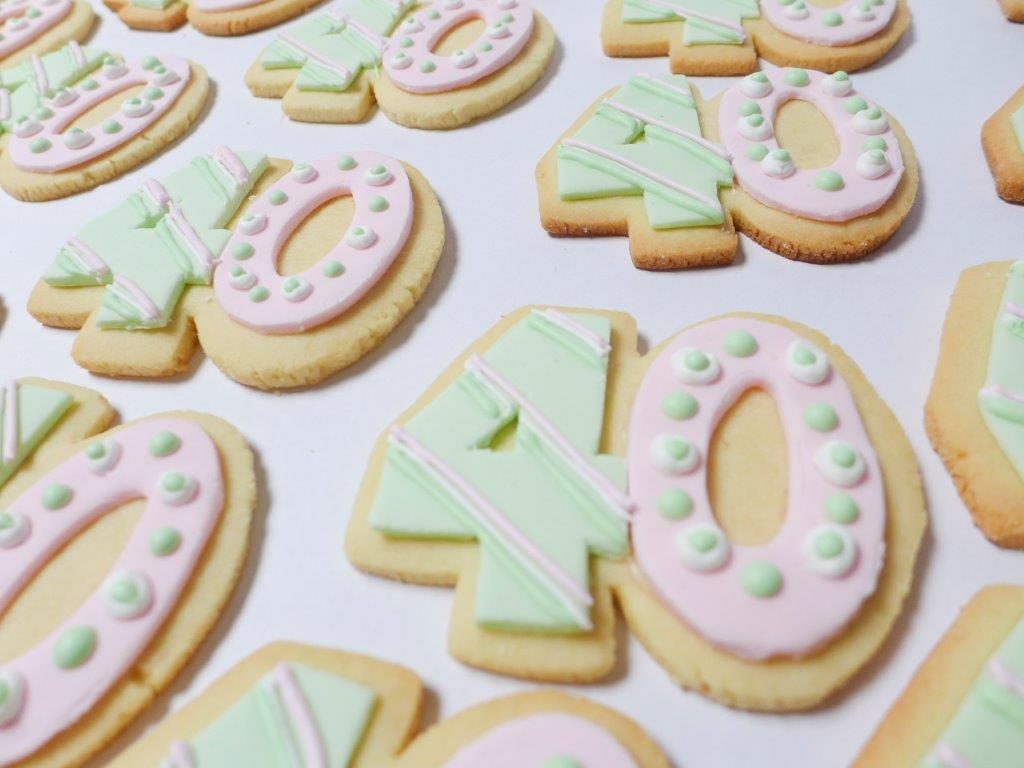
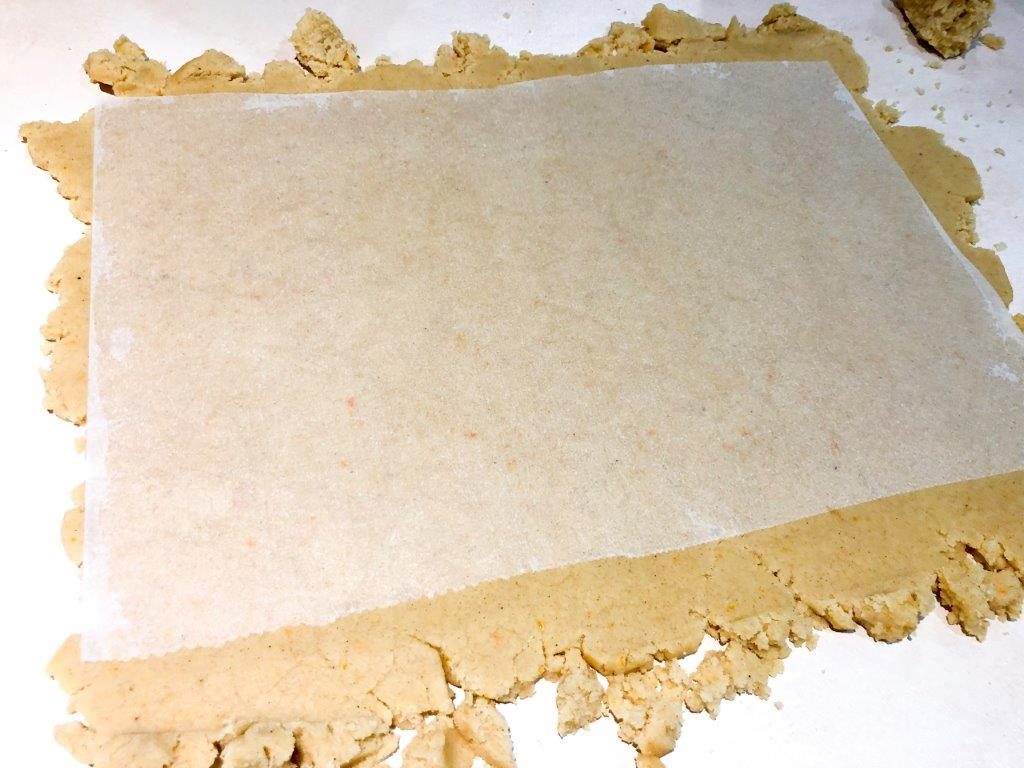
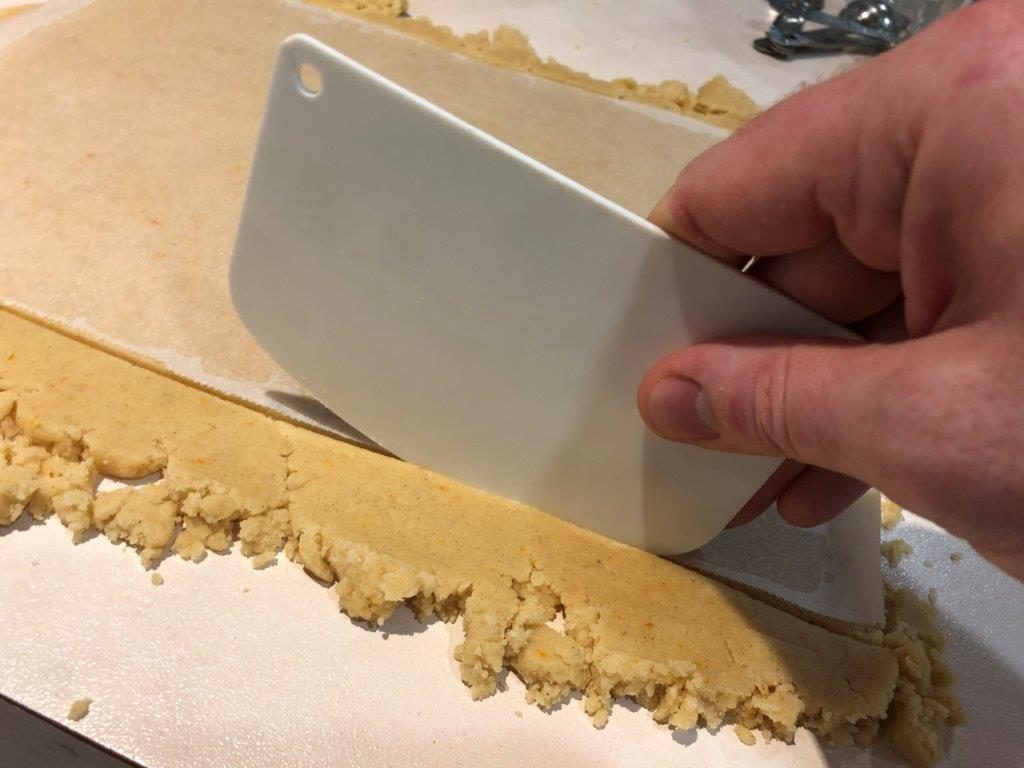
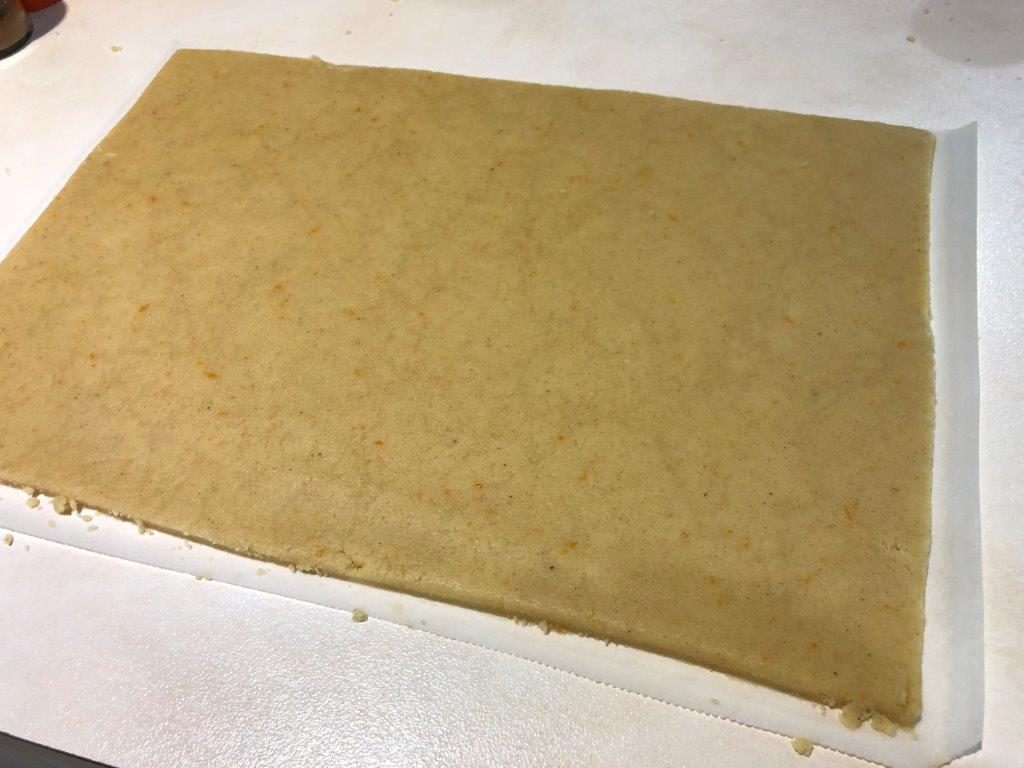
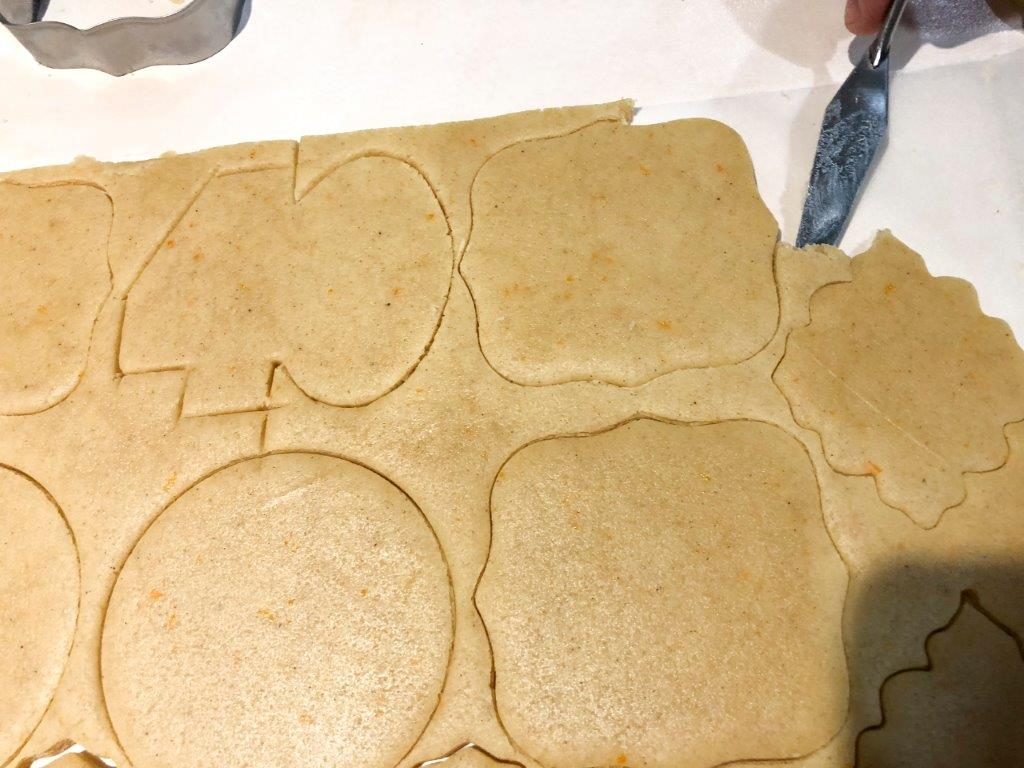
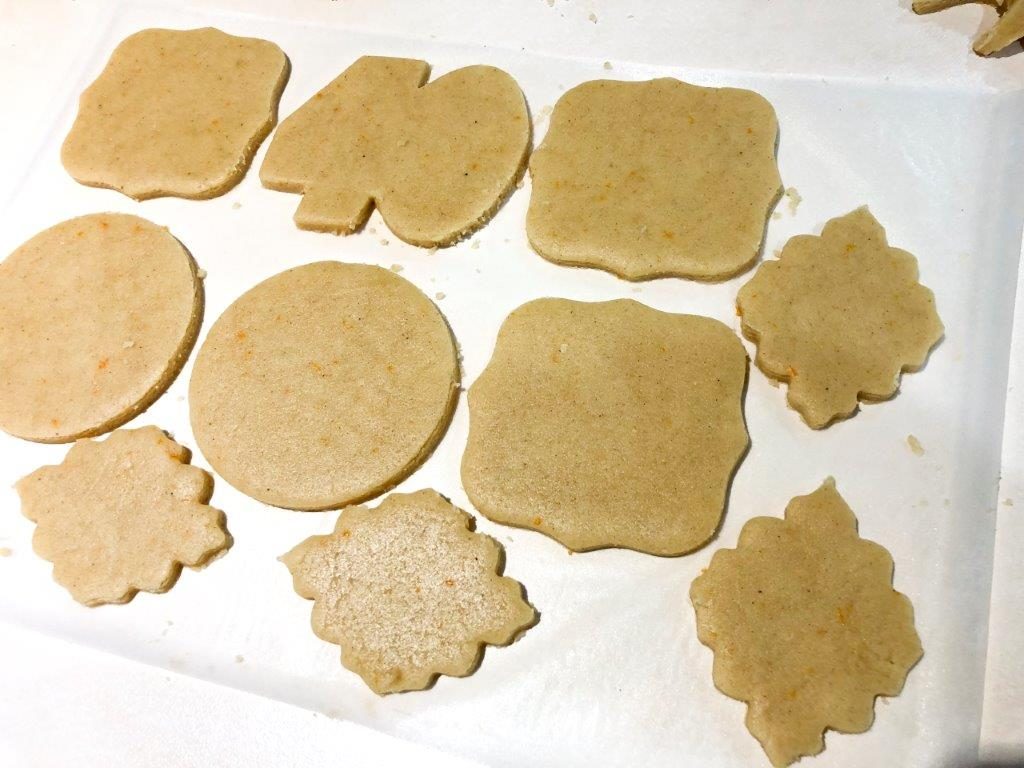
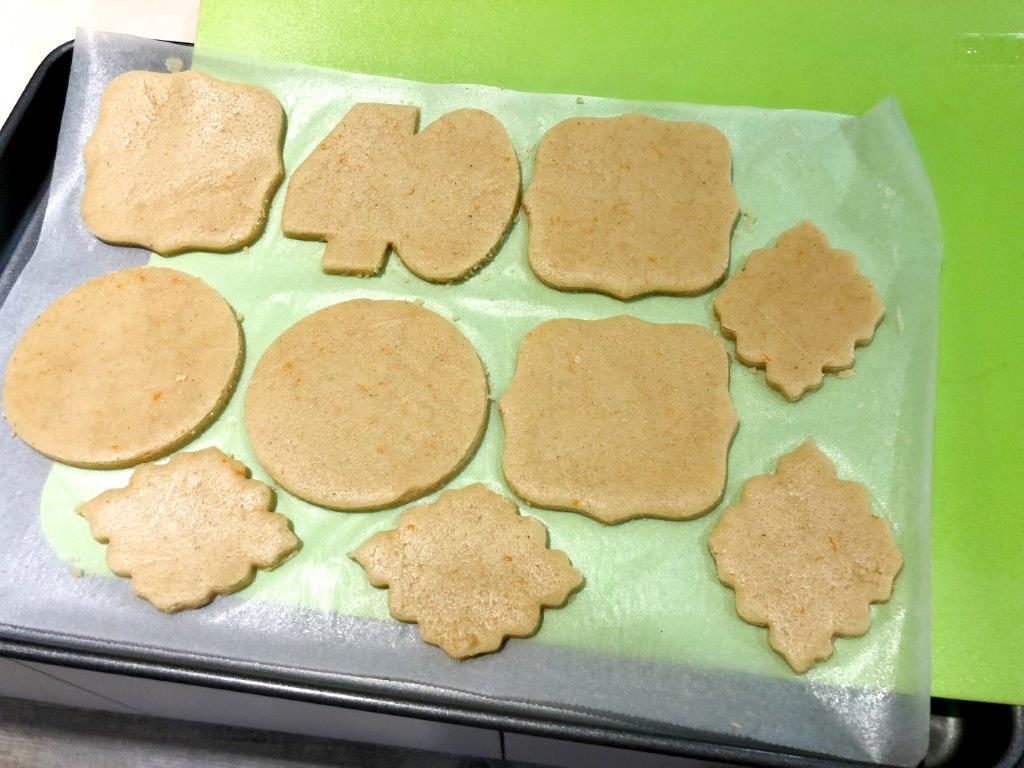
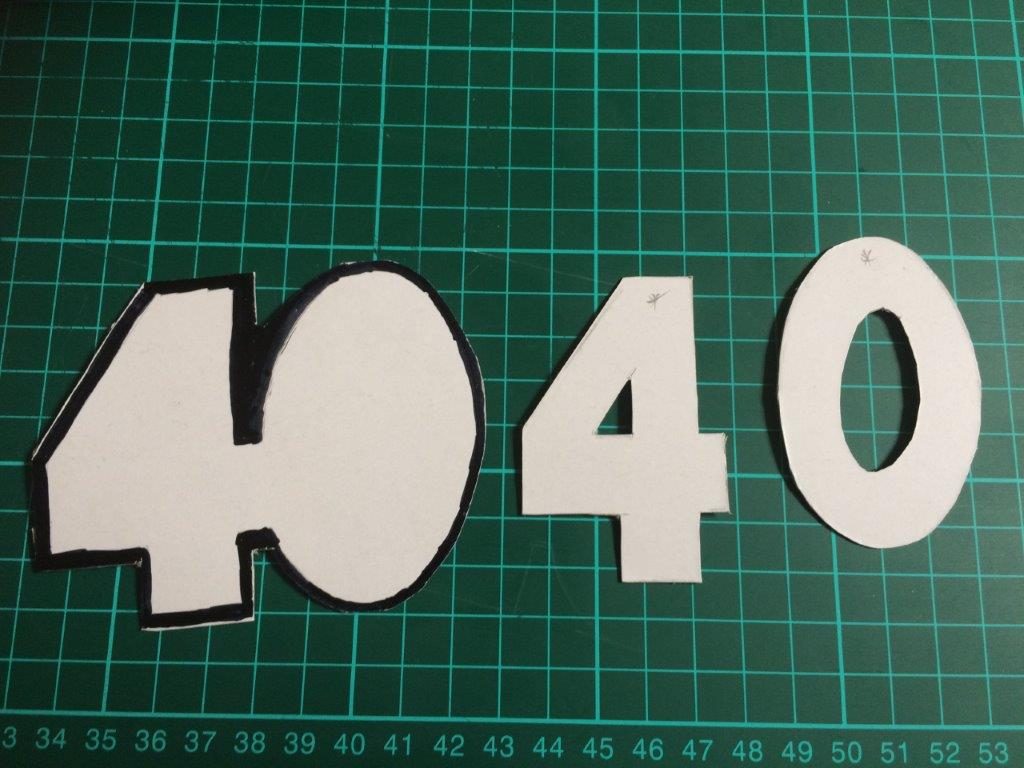
To make the 40 shaped biscuits I cut the biscuits into the dough using a cardboard template.

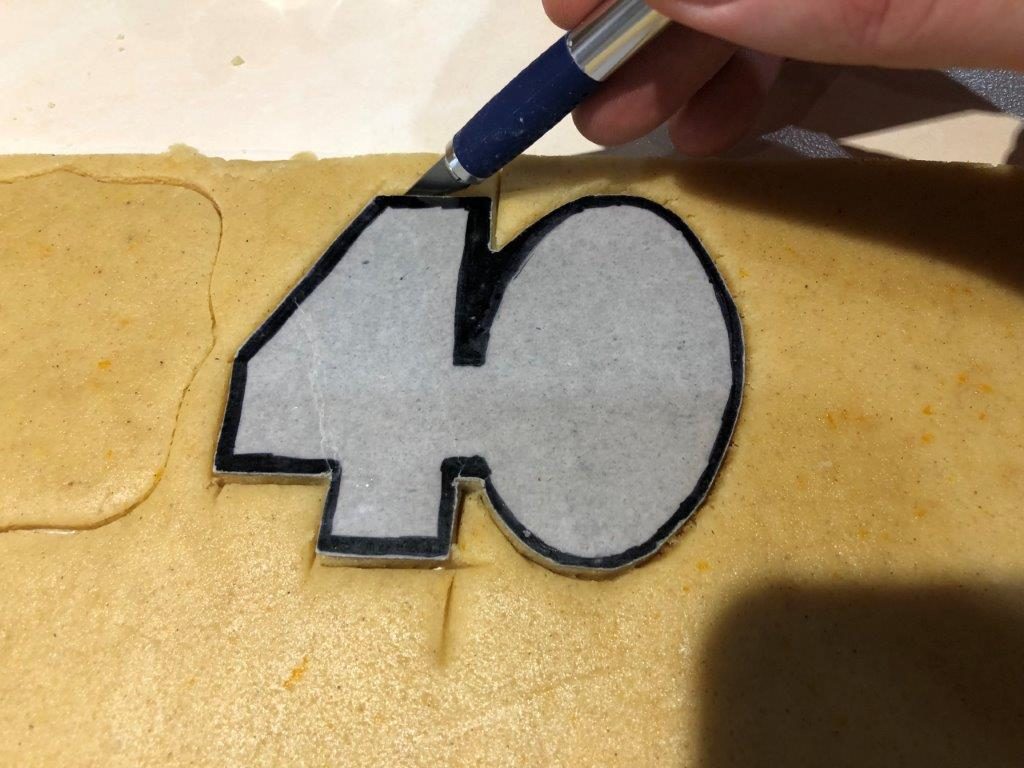
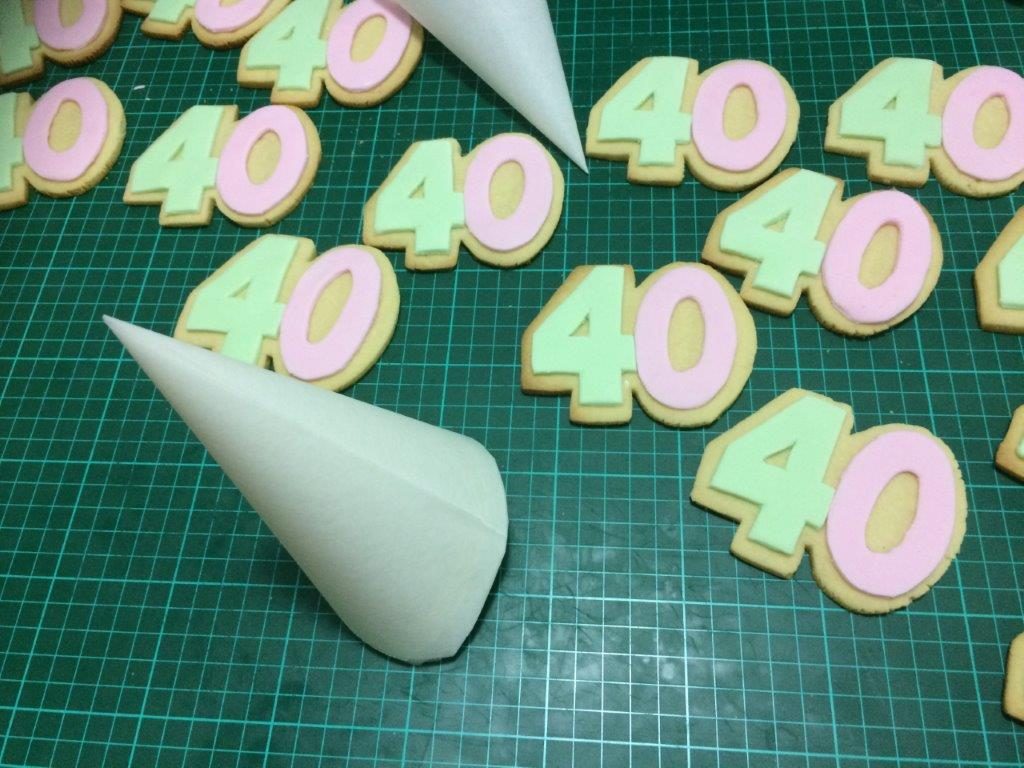
The 4 and 0 were cut from sheets of fondant using a craft knife and a cardboard template.
The rough edges of the fondant were smoothed by running a fingertip around the edge.

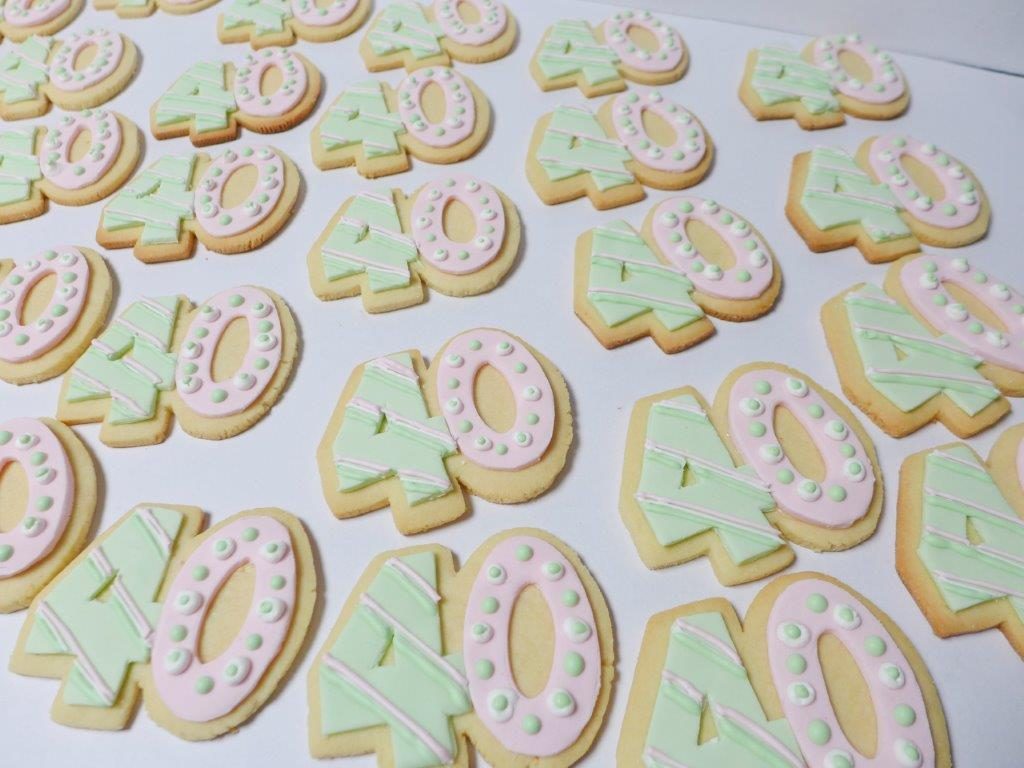
The fondant pieces were applied to the biscuits with some piping gel and baked briefly at 80 degrees to set them. The hardened fondant could then be easily decorated with basic royal icing piped with handmade baking-paper piping bags and a #2 piping tip.

Mixture of royal icing and fondant covered biscuits and macarons