 Piping bags
Fabric or plastic piping bags are great, but they take time to clean and they can be cumbersome to work with.
Especially when working with multiple coloured royal icing, I find it a lot easier to work with handmade paper piping bags.

They only take a couple of seconds to make and they are much more convenient and easier to handle. With a little practice, a huge number of piping bags can be made in just a couple of minutes so they are on and hand ready before decorating.
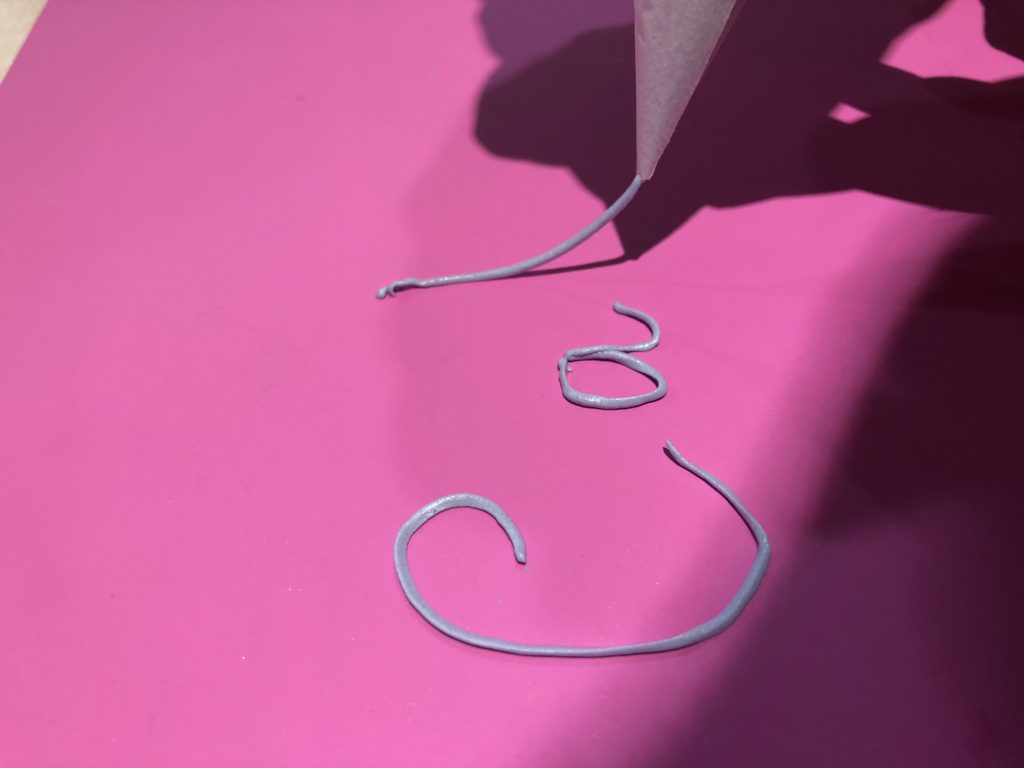
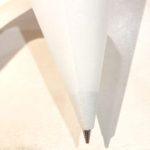
Just cut off the tip paper piping bag and drop a piping tip into the cone. I often don’t use a piping tip; the paper bags are reliable enough and have a sharp enough tip that they can be cut to create the right sized hole to pipe with straight from the paper. More often than not I will make a piping bag from paper if I’m only doing a little bit of piping because it’s faster than fishing my piping bags out of the cupboard.
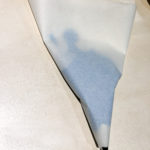
Cut full-width squares from a roll of non-stick baking paper (like GladBake). Cut squares along the diagonal to form triangles.


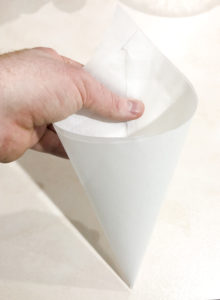
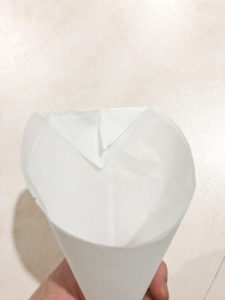
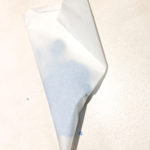
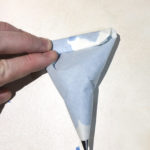
Fold an outside corner of the triangle inwards so the tip lines up with the middle point and begin forming a cone shape. Wrap the other outside corner around the cone to meet in the middle as shown. Shuffle the edges around to ensure a sharp point forms at the end of the cone and the outer corners line up neatly. Fold down the gathered corners to secure the top of the cone then fold again to lock it in place. The cone is now completed and ready to be filled.
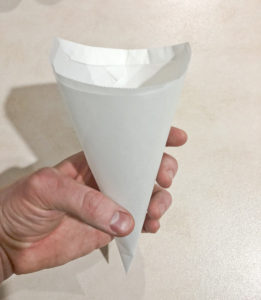
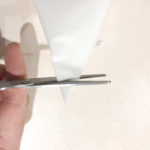
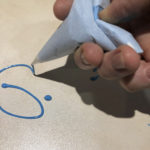
Cut the point off to make the right sized hole to pipe with or cut more to allow room to drop a metal piping tip in place.
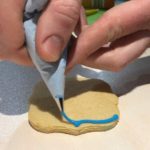
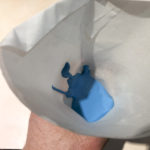
Fill the bag with a couple of tablespoons of icing fold in both top edges an angle. Fold/roll from the open end to seal the icing in place, this creates an easy to handle, and work with piping bag. When the bag starts to deteriorate or when it’s finished, cut tip off the bag to free the metal tip and bin the paper bag.


Even better with Plastic
Get comfortable with making piping bags with baking paper. Then try making them from a roll of wrapping cellophane. The cellophane cones can pipe a very fine line without a tip. The bags don’t deteriorate and, as an added bonus the icing does not dry out in the cone, especially if the tips of the filled piping bags are kept covered by a damp cloth while they are not in use. Several bags can be kept tip down in a cup with the tips resting on a damp piece of paper towel or cloth and stored for use over a couple of days.
The process to construct cellophane piping bags is the same but use a dab of water from a paintbrush or a light spray of water from an atomiser on the plastic, the water will hold the layers together and make it easier to form the cone shape. The piping cones can be stacked and stored as is for months or years. It is not necessary, but I like to use a piece of clear sticky tape on the outside of the cone to lock the layers in place permanently.
Once filled a piece of clear stickytape will stop the folded and rolled end from unrolling and keep the filled bag compact and easy to handle.
5 metre rolls of cellophane gift wrap can be purchased from discount shops for around $2/roll, and a single roll will let you create a lot of disposable piping bags. With not much practice, it becomes easy to make dozens of homemade piping bags, that are easier to work with than bought disposable bags, in no time at all.