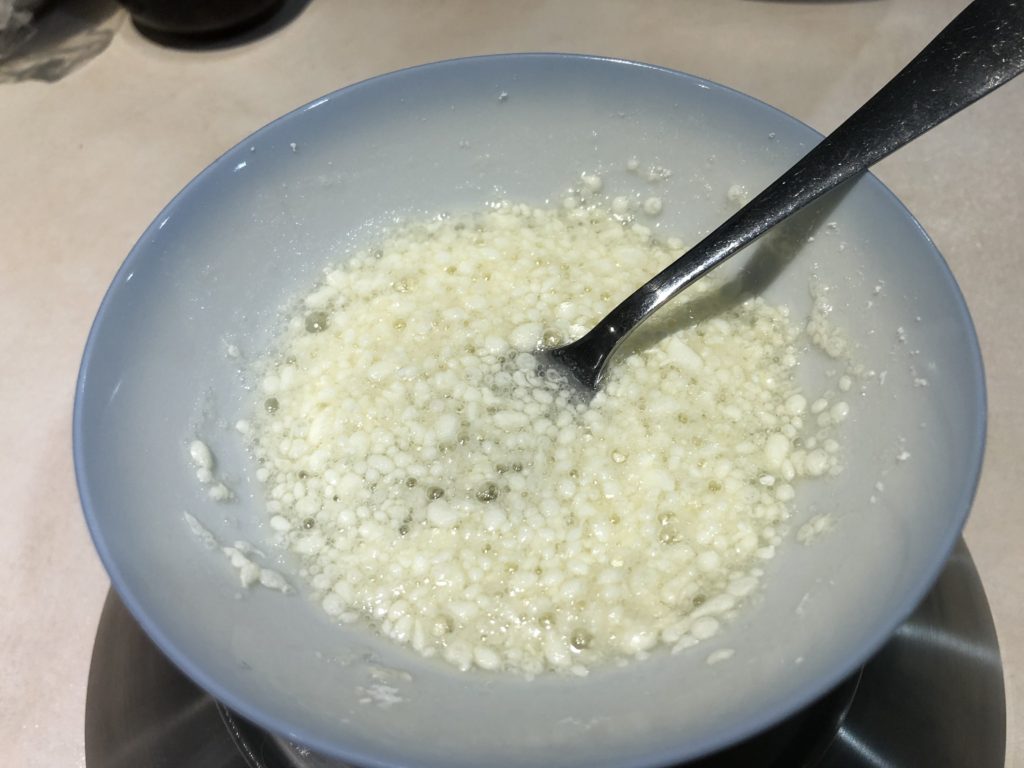
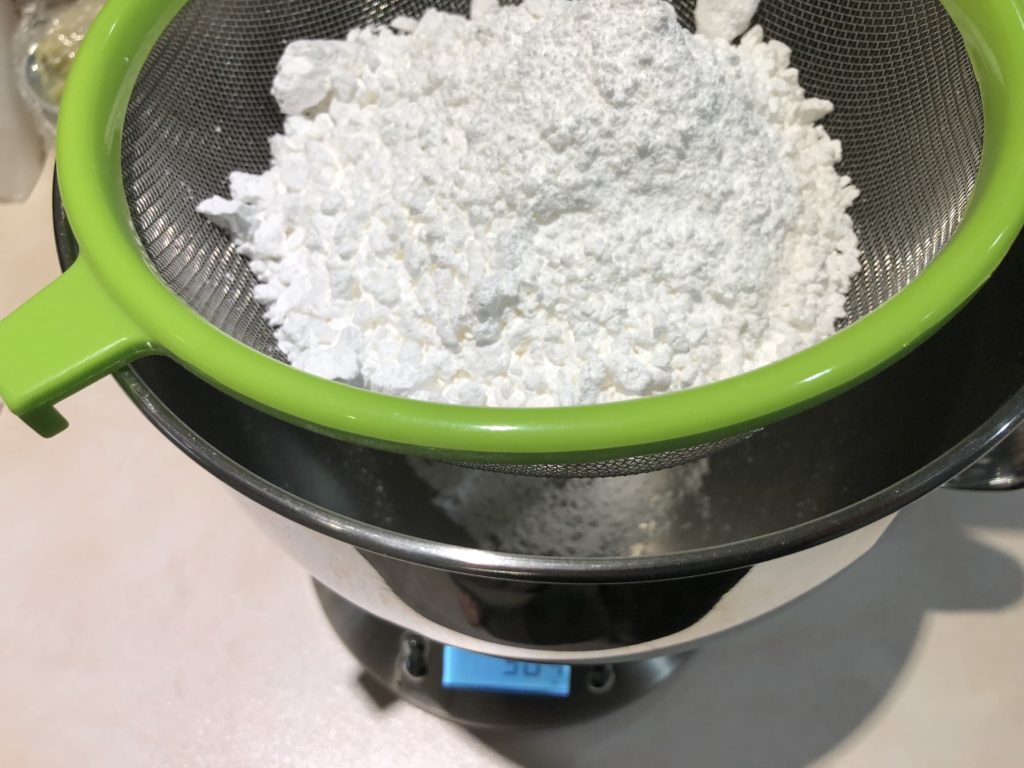
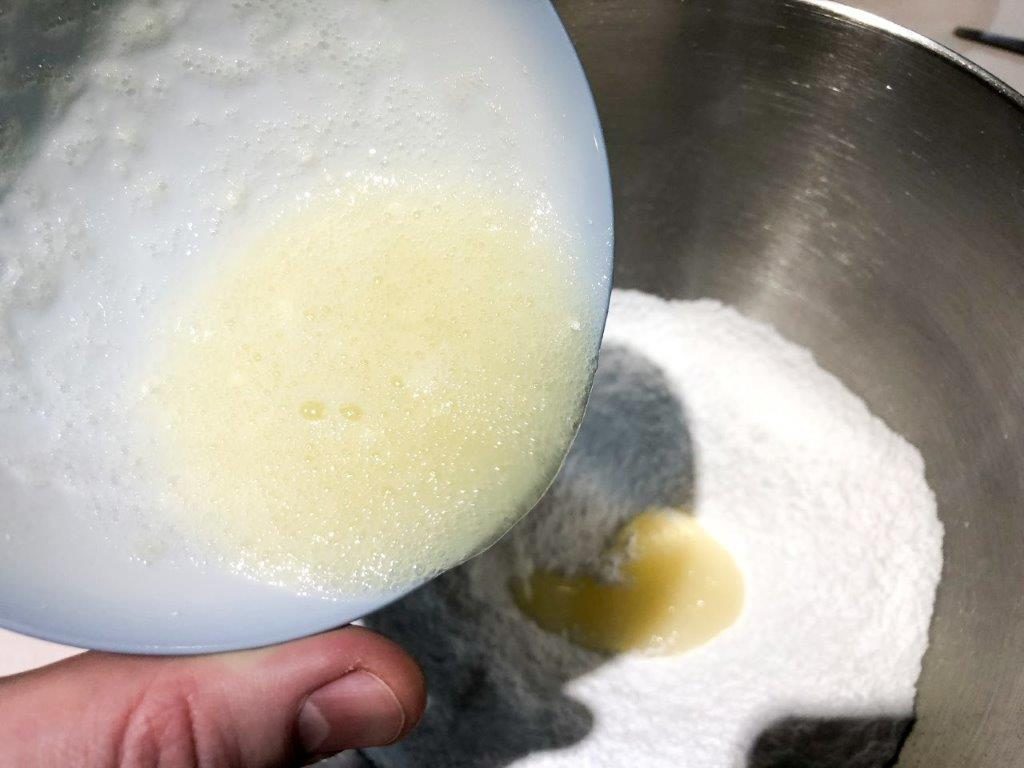
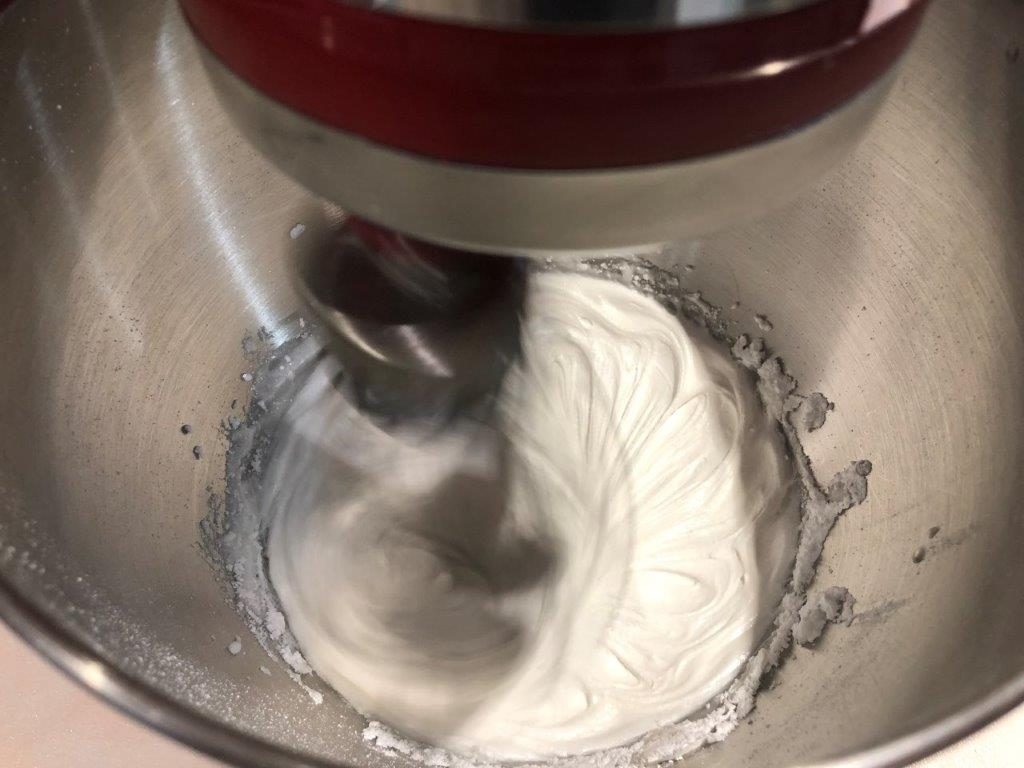
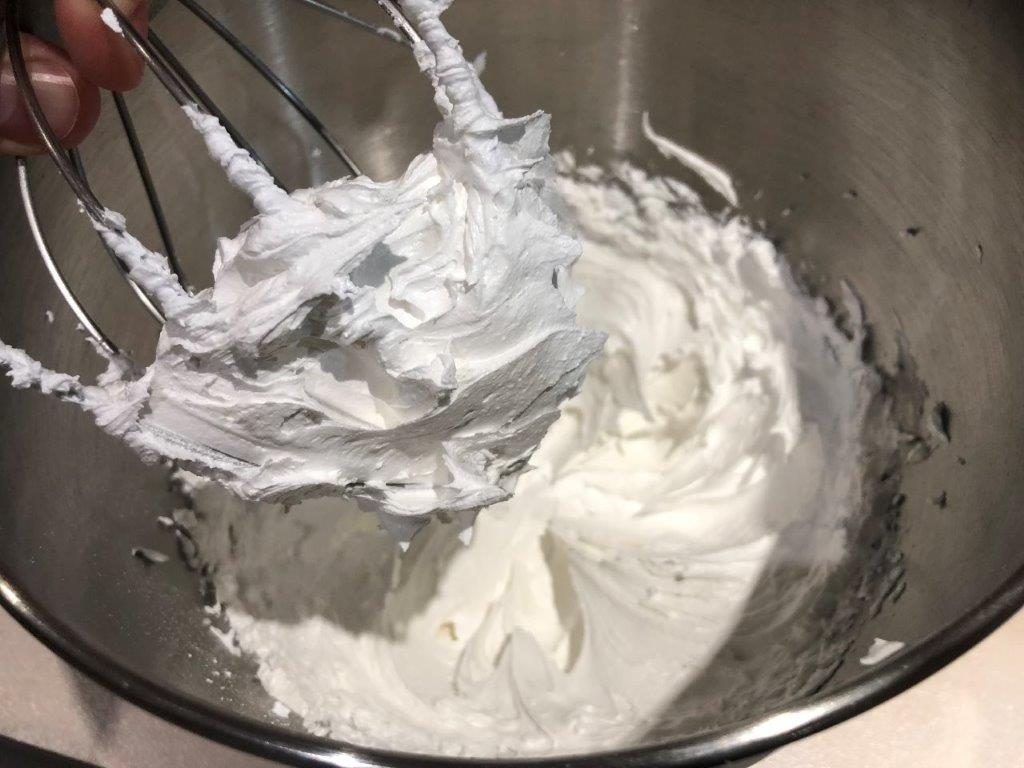
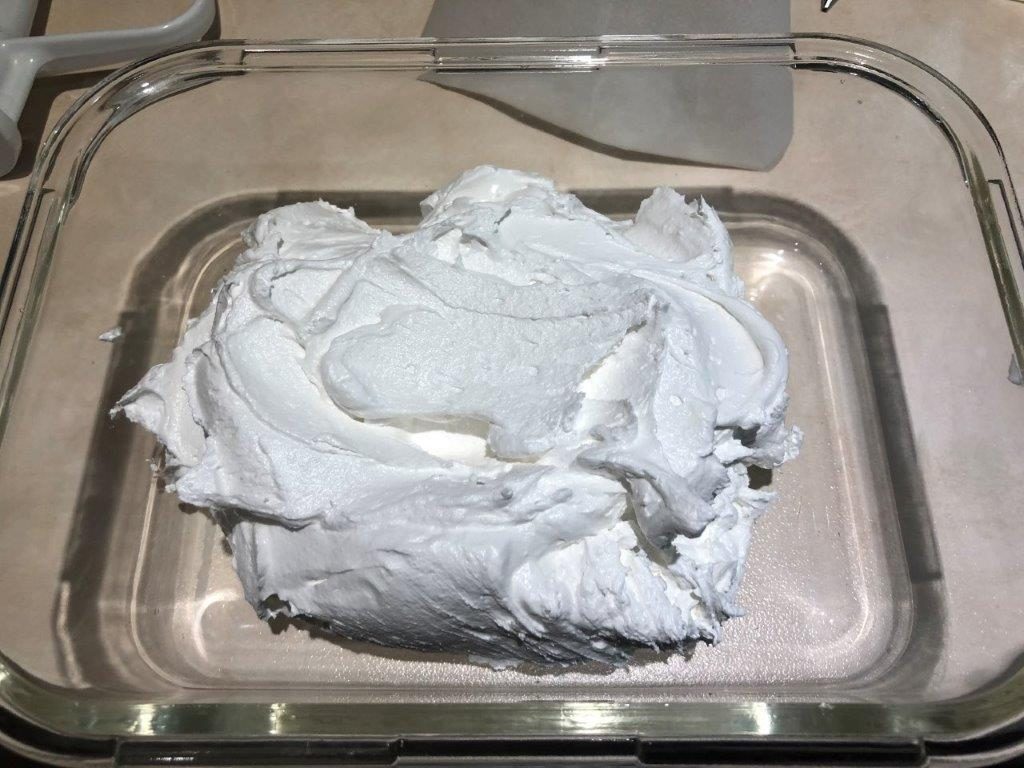
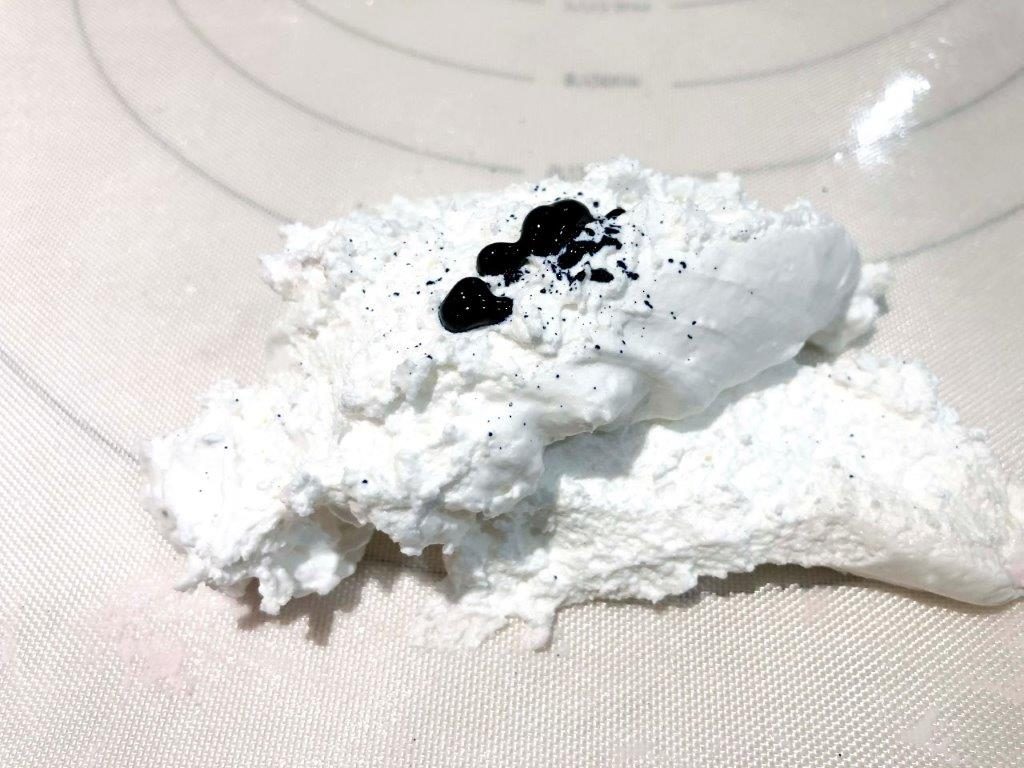
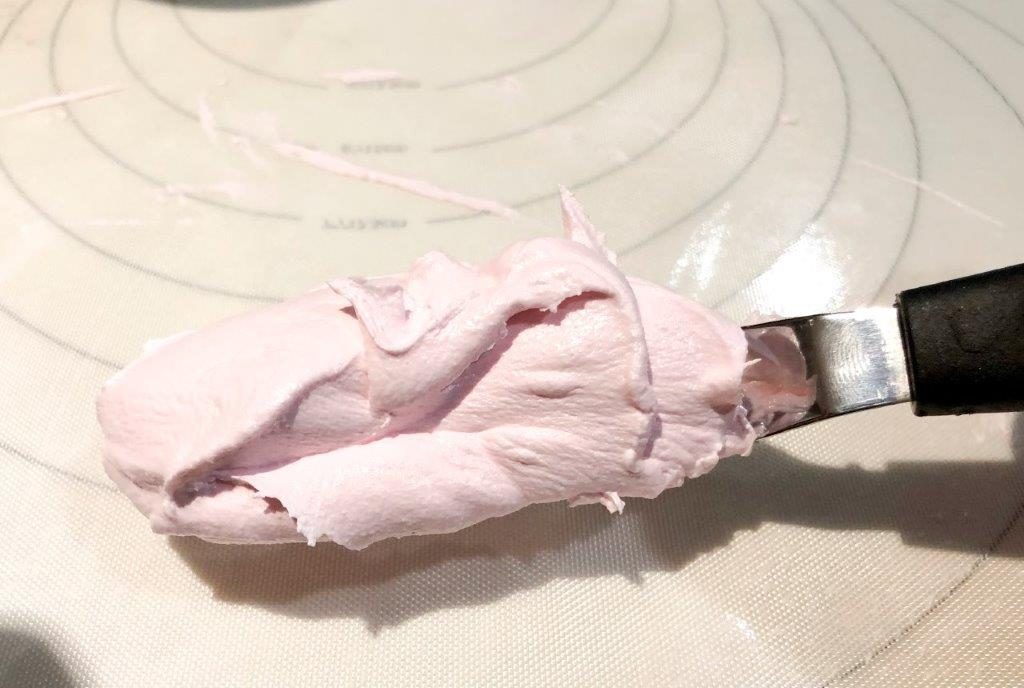
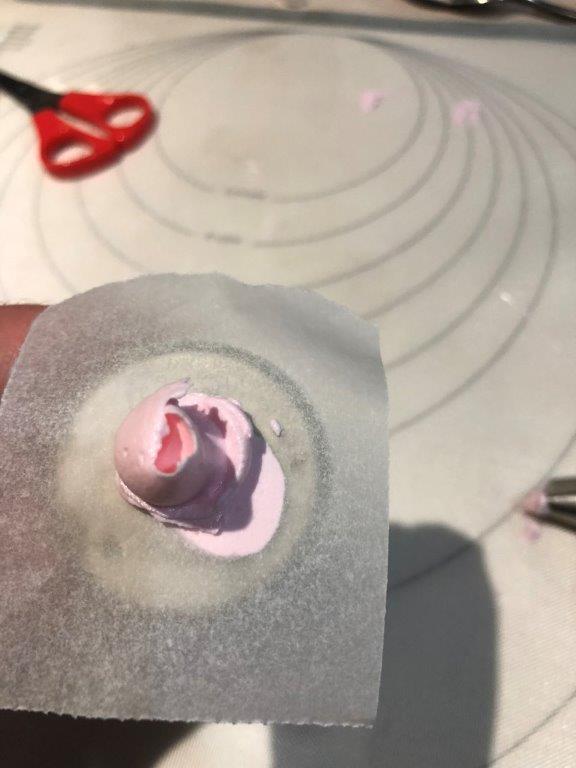
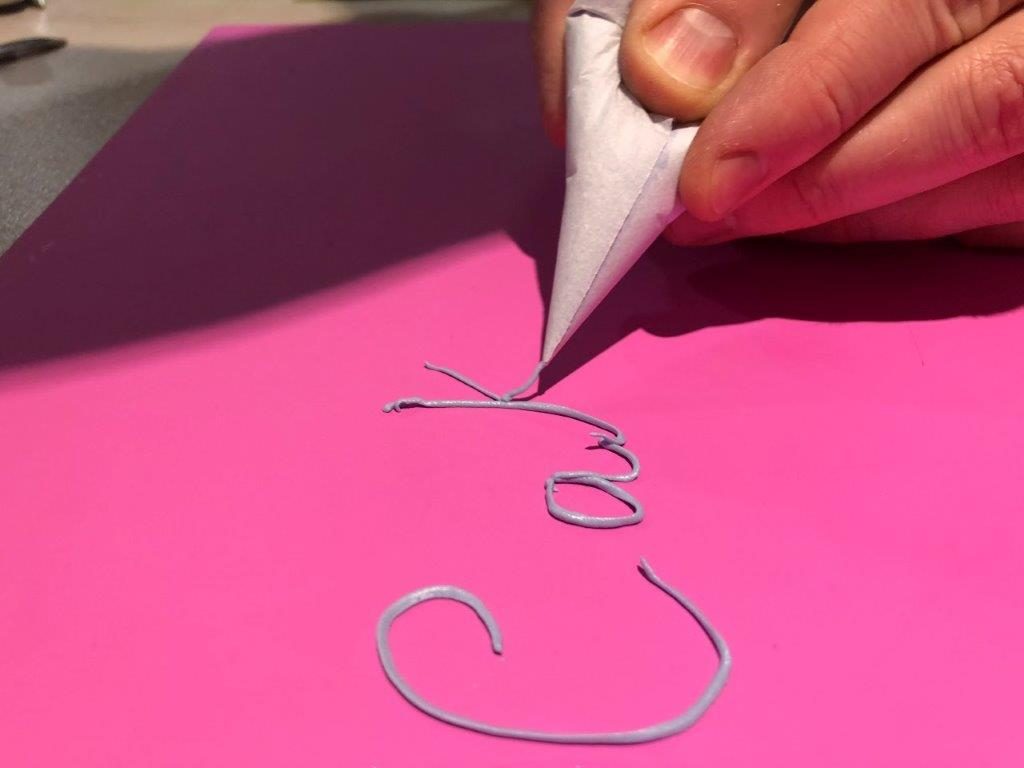
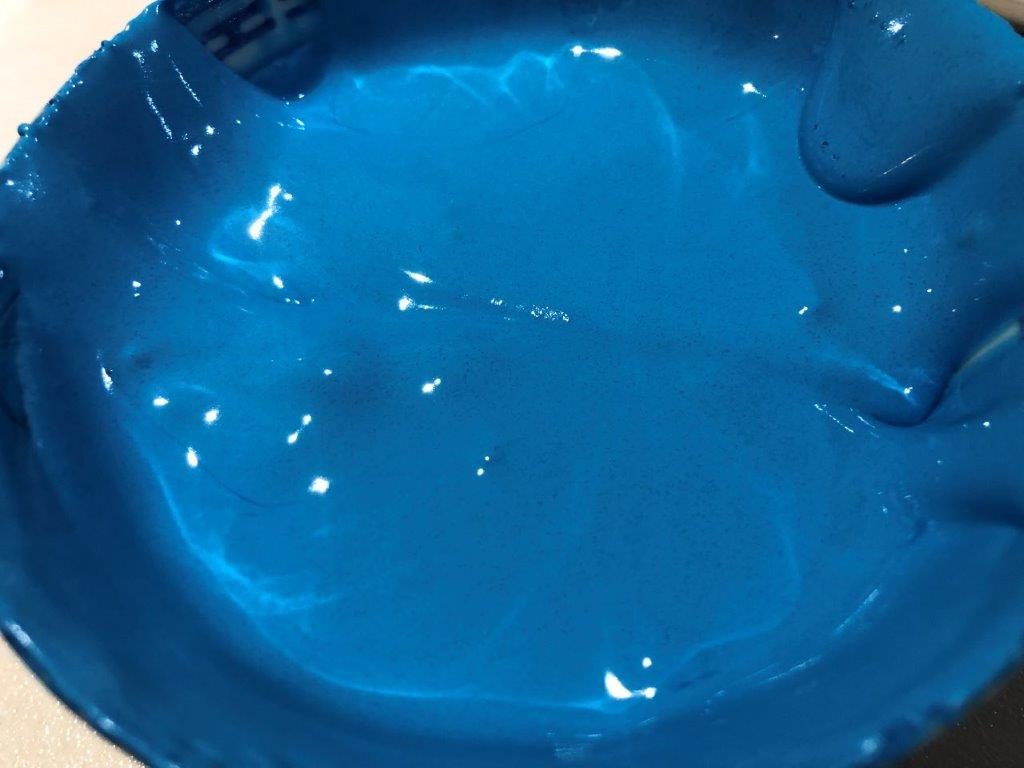
Royal Icing

Royal icing is incredibly versatile, easy to make, and can be adapted to use in several different ways by varying the amount of water or eggwhite added to it.
There are lots of ways to make royal icing, I prefer one below, it uses powdered egg white which I find convenient and reliable. The best approach if you are new to royal icing is to experiment and find a recipe or method that works for you, this is by no means the only way, there are recipes that are better or that will work better for you, this is just what I found works well for me.

Ingredients:


Royal icing
– with Actiwhite/powdered eggwhite

600g Icing sugar – I use pure icing sugar but lots of people use icing mixture, this is fine, but it changes how much liquid needs to be added and can make a slightly more brittle icing
20g actiwhite – egg white powder
90ml water
1/2 teaspoon concentrated natural vanilla extract or clear vanilla extract
¼ teaspoon fine table salt
1 tsp lemon juice
2 tsp white vinegar

Royal icing – fresh eggwhites

600g Icing sugar
100g egg whites
2 tsp white vinegar
1 tsp lemon juice

1/2 teaspoon concentrated natural vanilla extract
¼ teaspoon fine table salt.


METHOD

Measure 20g of powdered eggwhite into a small bowl, add water to bring the total weight to 100g, mix briefly with a fork to combine and leave to sit for 10 minutes to give the powdered eggwhite time to rehydrate. 

Use a sheet of paper towel lightly soaked with vinegar to wipe over the bowl of a stand mixer fitted with a whisk attachment.

Sift the icing sugar and salt into the bowl then pour in the egg, the vinegar and flavourings. Whip on high for two minutes then scrape down the bowl and whip until the mixture is aerated, smooth and glossy – roughly another 5-8 minutes. It can be done with hand beaters, but a stand mixer is a lot easier.

Scrape the finished royal icing into an airtight container and store until ready for use. In regular weather royal icing will keep for 3 day-5 days in an airtight container unrefrigerated, it will keep for about three weeks in the fridge, and a few months in the freezer. If the mix separates after defrosting or after a few days on the bench or in the fridge it can be rewhipped.

Although it is not necessary, a few drops of white gel paste colour or pinch of titanium dioxide powder will make a brighter white icing and will compensate for any very slight discolouration from the vanilla or any other flavourings used.

There are countless variations and ways to prepare and use royal icing, a lot of decorators do not waste time whipping additional air into the mix, they just use a paddle attachment and mix until smooth, then use only water and a spatula to thin the mix to the required thickness and flow without “buttering down”. I have included a few of the most common uses for royal icing. 

Use these as a starting point, or try them out if they are a different method to what you’re used to and build on them, find what works for you and adjust and change them as you attempt different projects. 


Fresh Royal Icing

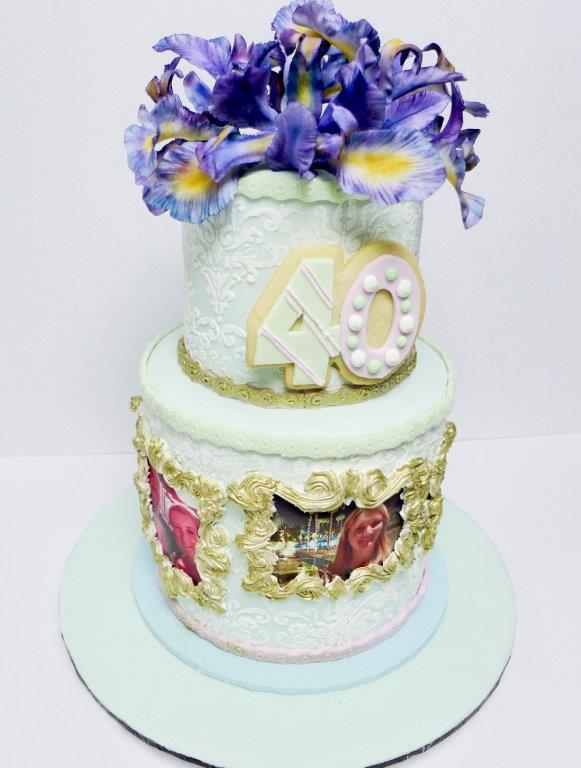
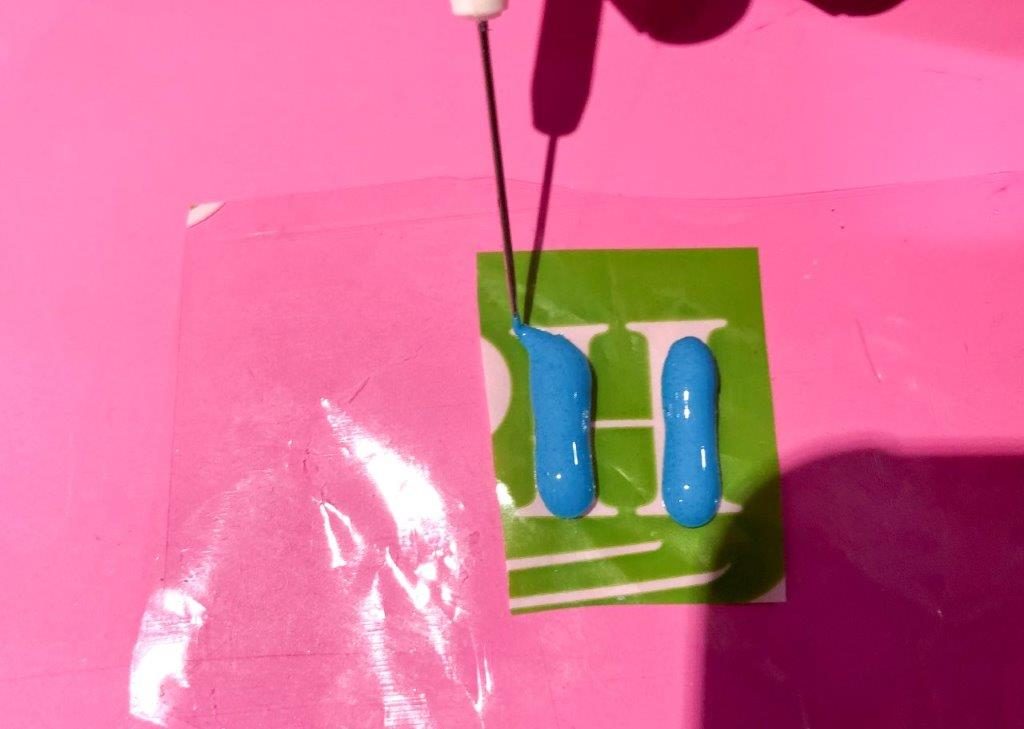
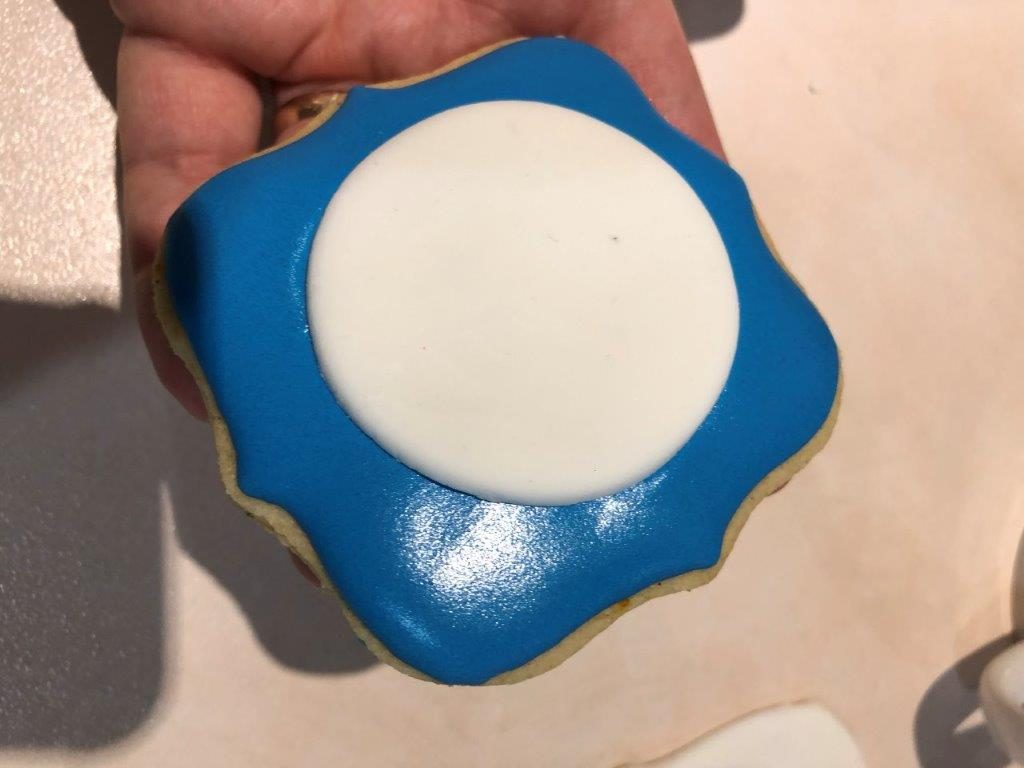
Freshly made royal icing works as strong, mousse-like glue that will hold structural pieces together and can hold surprisingly heavy decorations like biscuit plaques onto the side of a fondant covered cake.

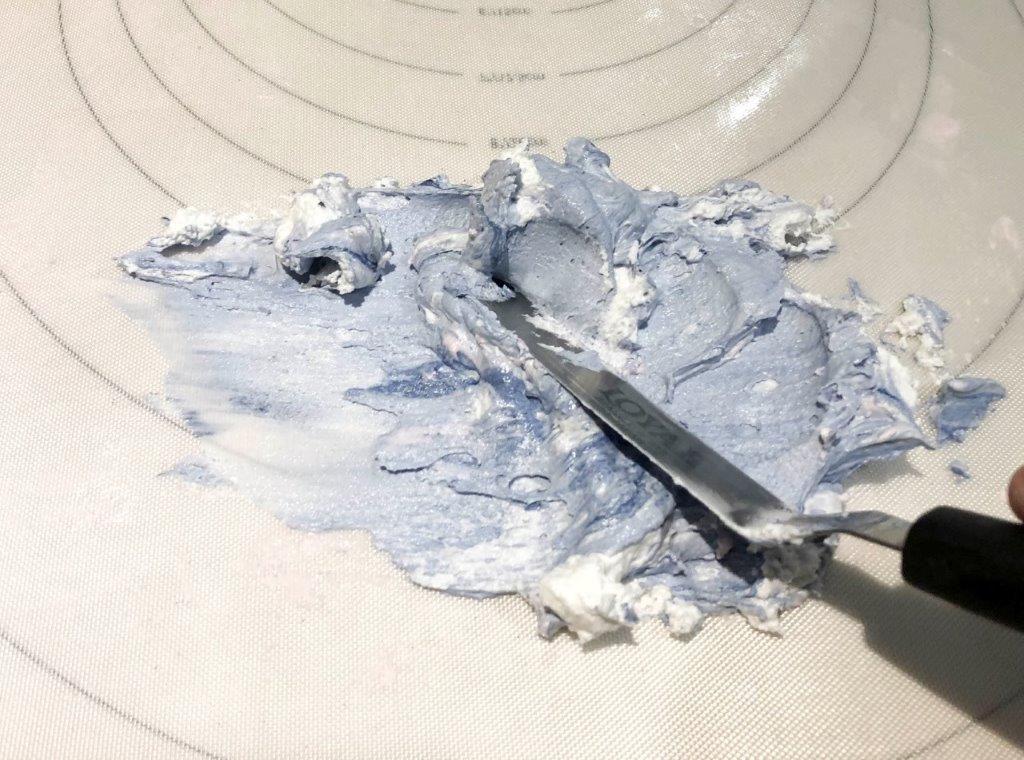
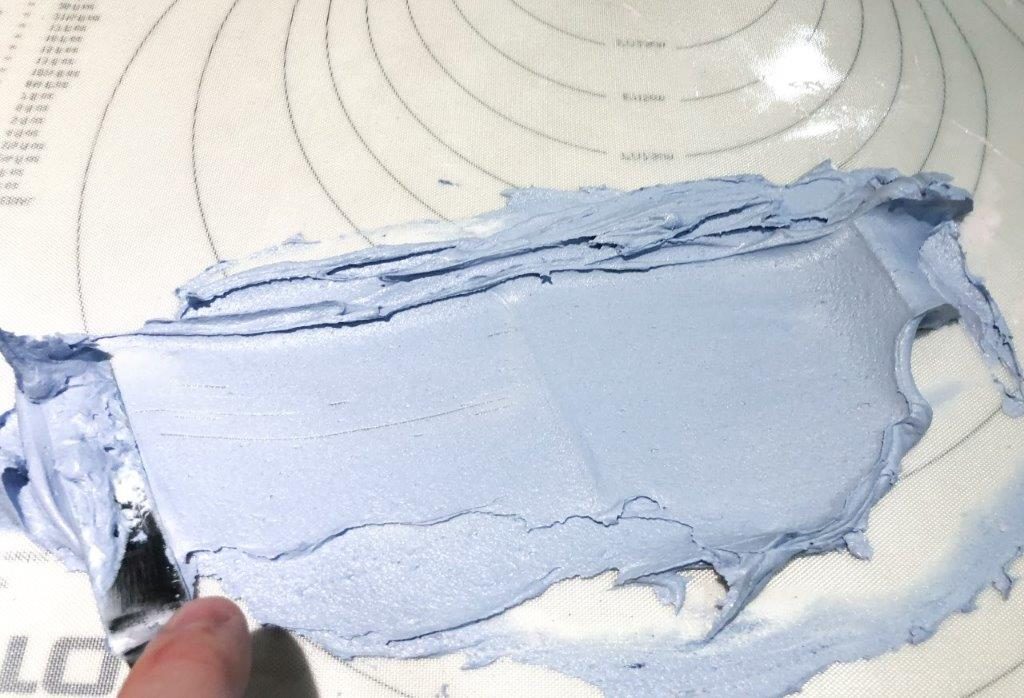
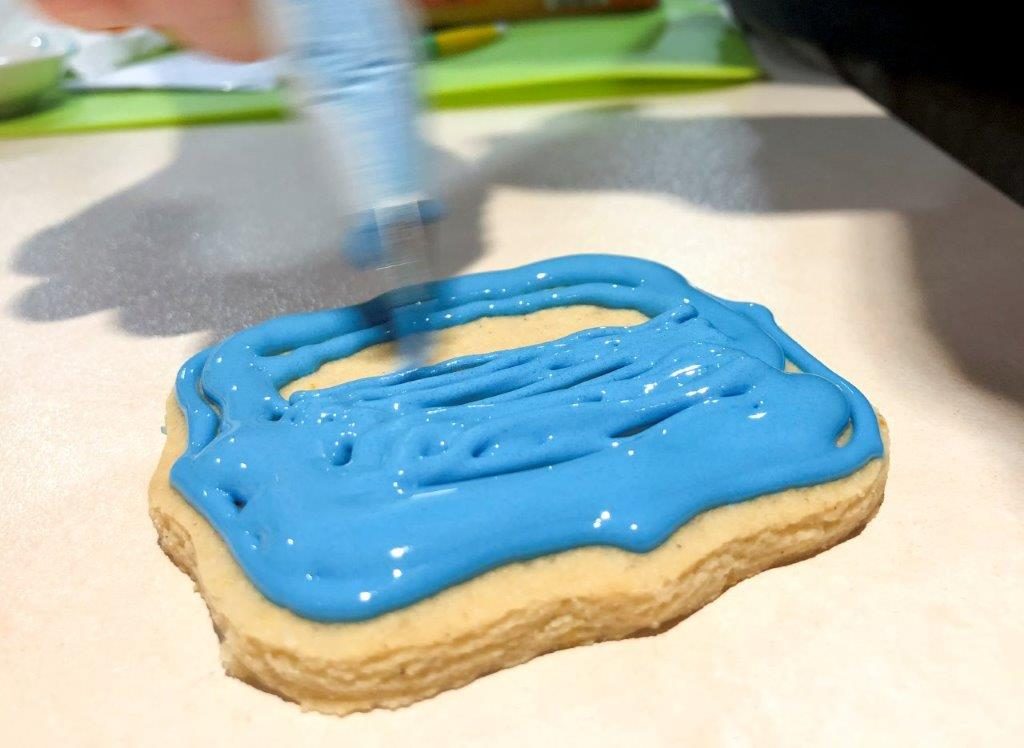
Fresh royal icing dries quite fast and provides a lot of initial grip which is handy when building structures or using it to glue pieces together. If the pieces are supported, it will and set well enough to hold pieces without supports after 15-20 minutes. 

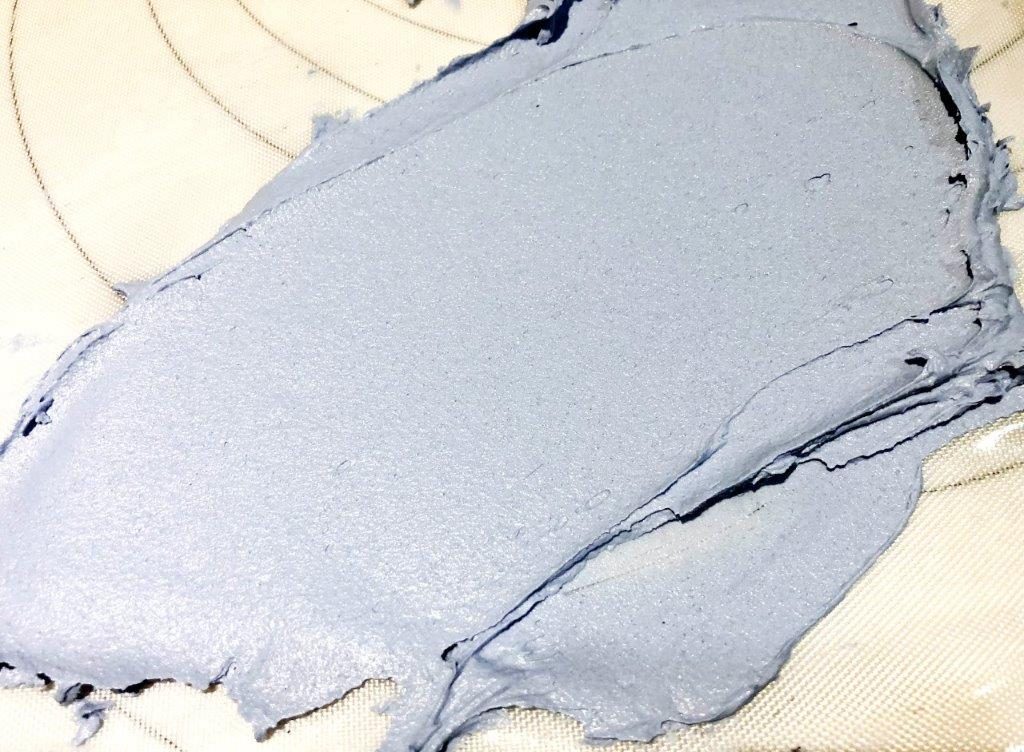
Depending on how thickly it was applied, it sets rock hard in around 6-8 hours.

Stiff Royal Icing


Uses: Perfect for piped flowers and decorations like the base piped levels of built up English style over-piping. This is also a good texture of royal icing to use with a stencil or to create 3D piped pieces that can be dried and assembled to stand away from a cake surface or used to make other more structural royal icing pieces.

Before using for these applications, it needs to be “buttered down”. Buttering down the royal icing is done by working a small amount of it with a palette knife against a pastry mat. 

This evens the texture out, removes large bubbles and relaxes the mixture to the point where it can be piped smoothly without kinks or air bubbles that will create broken lines or rough shapes. 

Begin to work a few tablespoons of fresh mixture smooth by spreading it against the surface like a pastry mat with a pallet knife, gathering it up and spreading back and forth pressing the icing into the surface with a motion similar to spreading butter on toast. 

Use the tip of a skewer to drop on some gel paste colour and blend it into the mixture. Continue to work the mixture until it is smooth, work in one or two droplets of water if the mixture is too stiff. 

Keep the prepared royal icing in a small bowl covered by a damp cloth or damp piece of paper towel until ready to be used in a piping bag. For stencils, use a bench scraper or palette knife to apply the icing in a very thin layer over a stencil to create a pattern on the surface of a prepared cake or biscuit.

Structural pieces should be dried over night before moving and assembling them. Although it starts to crust up and dries quite quickly anyway, this texture of icing is firm enough to build up layers on freshly piped layers.


Medium texture Royal icing – soft peak


This is still on the firmer side, but it flows more easily through a fine piping tip and allows a line of icing to be attached to the surface and piped in a long drop string. The added flexibility of this still quite firm royal icing makes it the most versatile texture, suitable for most types of royal icing decorating. 

Uses: Piped writing, borders and pressure piped decoration, English over-piped decoration, and piped royal icing brush embroidery designs.

To prepare medium textured royal icing the method is the same as for Firm royal icing, but with another two or three droplets of water added. Be very sparing with any extra added water, it is surprising how much a very tiny amount of water will thin out royal icing. Always keep in mind that it’s easy to add more water or eggwhite, but it’s hard to rescue royal icing once it’s too runny.

Allow decorations piped onto baking paper or cellophane between 6 and 12 hours to dry before moving and assembling them. 

Decorations piped directly onto prepared cake or biscuits will crust quite quickly, and be firm enough to pipe more detail on in a matter of minutes depending on the size but will still be soft and brittle and liquid in the middle until set fully set. 

For extension and string work:

Pass medium texture royal icing through an ultra-fine sieve or clean new nylon stocking material to create a royal icing with the perfectly smooth texture needed for ultra-fine extension or oriental string work. This is a royal icing technique that is perceived to be very advanced, but with practice and a steady hand it’s not as difficult as it looks. 

The most important thing is to create royal icing with the smoothest texture possible and to eliminate any undissolved sugar crystals or bubbles that will cause strings to break. This icing can then be passed through impossibly small tips with no issues. Decorators who excel at very fine extension and string work will usually pass their icing through nylon a couple of times before using it and tend to work in small batches so they can control the texture better.   

Run Out or Flood Consistency royal icing – 10 second icing:

The aim with flood consistency royal icing is to thin the icing to the point where it can be piped through a #2 round piping tip and form a thin line of icing that will not collapse, but also it needs to be soft enough that thick lines piped next to each other will collapse to blend together and form a smooth patch of icing. This is also the perfect consistency for piping dots. as they will naturally form into perfectly smooth round dots on their own.

Runout or flood consistency is achieved by adding even more eggwhites, water, or other liquids. Eggwhites dry faster and produce a shinier finish and the resulting flooded icing will dry much better on a humid day, but using just water is easier than cracking another egg or rehydrating eggwhite powder… I just use water and plan my projects so the biscuits or icing pieces have a full day to dry after flooding them.

Mix two or three heaped tablespoons of buttered down royal icing in a small bowl, add gel paste colour and mix with a small palette knife until the correct colour is achieved. Add two teaspoons of water, or eggwhite, and mix until smooth. Continue to add water drop by drop then mixing and testing for texture/flow, continue until the correct texture is achieved. 

Test for texture by dragging a palette knife through the royal icing leaving a valley to the bottom of the bowl and count how long it takes to settle back to a smooth surface. The correct texture has been achieved when the surface settles back smooth with almost no trace of having been disturbed after 10-15 seconds.

Decorate a biscuit by with flooded royal icing:

Pipe a thin border around the edge of the biscuit with a #2 round tip. Keep the piping tip a bout half a centimetre away from the surface of the biscuit and allow the icing to drop onto the biscuit from a slight height, this allows time to adjust the course of the icing as it is being lowered onto the biscuit and results in a much smoother line.

Once the border has been piped, fill in the biscuit by piping thick lines of icing next to each other back and forth across the top of the biscuit. Pipe these lines much closer to the surface of the biscuit, even dragging the tip along the surface to pipe thick lines and fill the space.

Use a scribe tool or thin sharp skewer, working the tip through the flooded icing in small, tight circles to level out the surface, fill in any gaps and blend the flooded area with the border edge. 

If the border has not been piped as neatly as it should have, it can be corrected with the scribe tool, by working in small tight circles from inside the flooded area and nudging the edges of the border to where they should be. 

Tapping freshly flooded biscuits will settle the surface, with the scribe tool used more for getting rid of gaps, blending the borders out, and minor finishing touches. 

Allow 24 hours for the icing to set before decorating further. A food dehydrator can be used to speed up the process. Or leave the biscuits in an oven overnight with the fan running and the oven light on, but no heat. 

Generally speaking flooded biscuits can be heated up to about 40 or 50 degrees for a little while, but any warmer and the fat from the biscuit will begin to discolour the icing and the lemon juice and vinegar will brown and make the surface look yellowed and dirty.

When I air dry the biscuits instead of drying them in the oven over night, I still heat them for an hour or so at around 50 degrees to crisp them up again. It’s not really necessary, but I like biscuits with on the crunchier side.

Run out Royal Icing Lettering/decoration 

Use a sharp scribe tool to scratch the outline of the letters onto dried fondant or flooded royal icing surfaces.

Pipe thick lines of flood consistency royal icing, staying well within the edges of the letters, then use a sharp scribe tool to drag the icing to the “colour” to the edges and form a smooth tidy letter. When piping on a biscuit, tapping it several times sharply can help the surface to settle smoothly.

other designs or block lettering can be piped onto cellophane, dried and removed to be applied so that they sit up from a surface. 

Smear clear cellophane with a very thin layer of solid white vegetable fat, like Copha, Solite or Crisco. Place the a template under the cellophane so the shape can be followed and flood the letter as described above, pipe enough icing to make plump rounded letters with clean sharp edges. 

Allow them the dry undisturbed on the cellophane for at least 24 hours before gently peeling them off the plastic. Make extra pieces as these are extremely fragile and even professionals break delicate pieces and pipe several backups for this reason.


Make life easier for yourself.

Mix and match royal icing and fondant. 

Don’t rely on just one technique or type of icing for the sake of it. Use what works best, what looks best, what works fastest and what you are most comfortable with. 

Handy tip:
Don’t throw out excess royal icing. Several flower paste recipes start with royal icing as a base, adding a small amount of CMC/tylose, some extra icing sugar and a small amount of Crisco or copha will produce a great paste for making flowers.

Be original and have fun.
Look for unusual stencils at craft shops. 

Make uniquely shaped biscuits without relying on cutters by tracing out a shape just slightly larger than the stencil and cut biscuits to shape using the template. 

Decorate the custom shaped biscuit by flooding with royal icing or covering with fondant. Stencil on the details with firm royal icing, or use an edible felt tip pen or airbrush, or use run out royal icing to fill in the details. 

Flooded biscuit with fondant disc ready to be decorated
Flooded and piped royal icing with fondant decoration

1 comments

    • Julia on 6 June 2018 at 5:47 pm

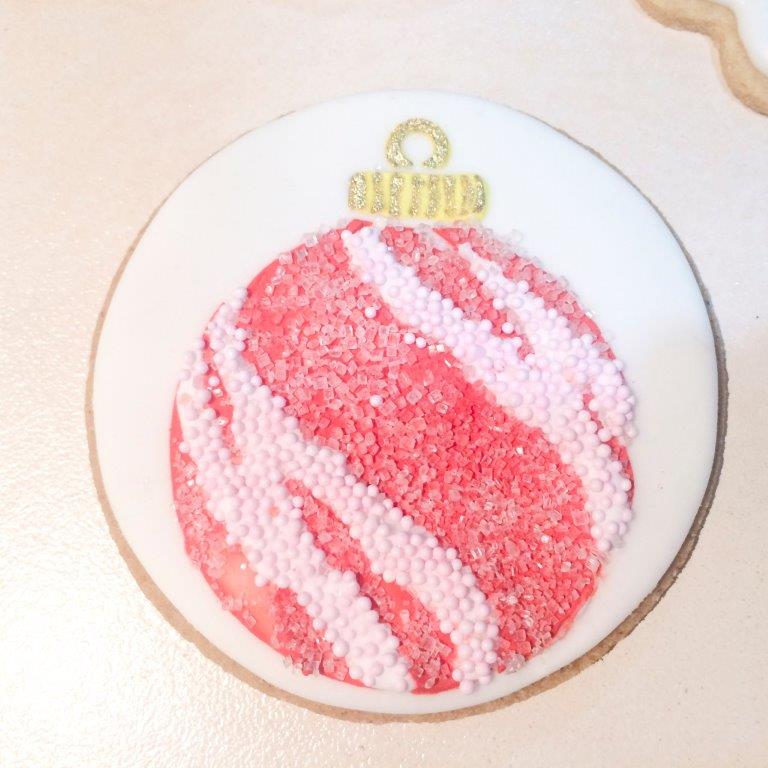
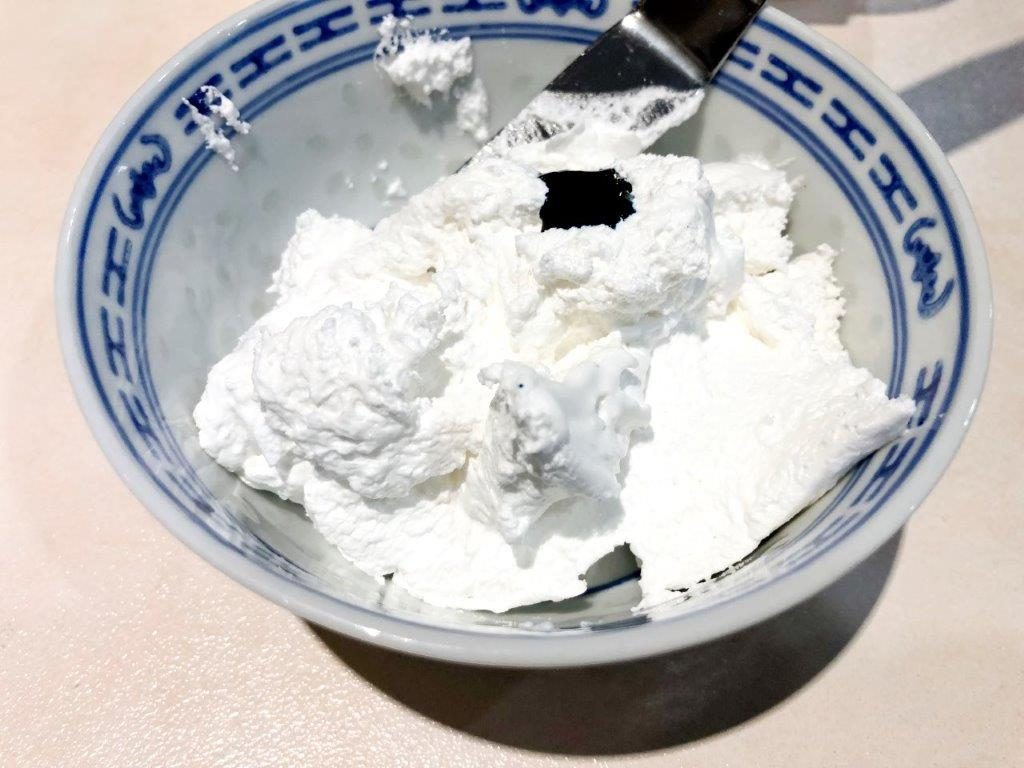
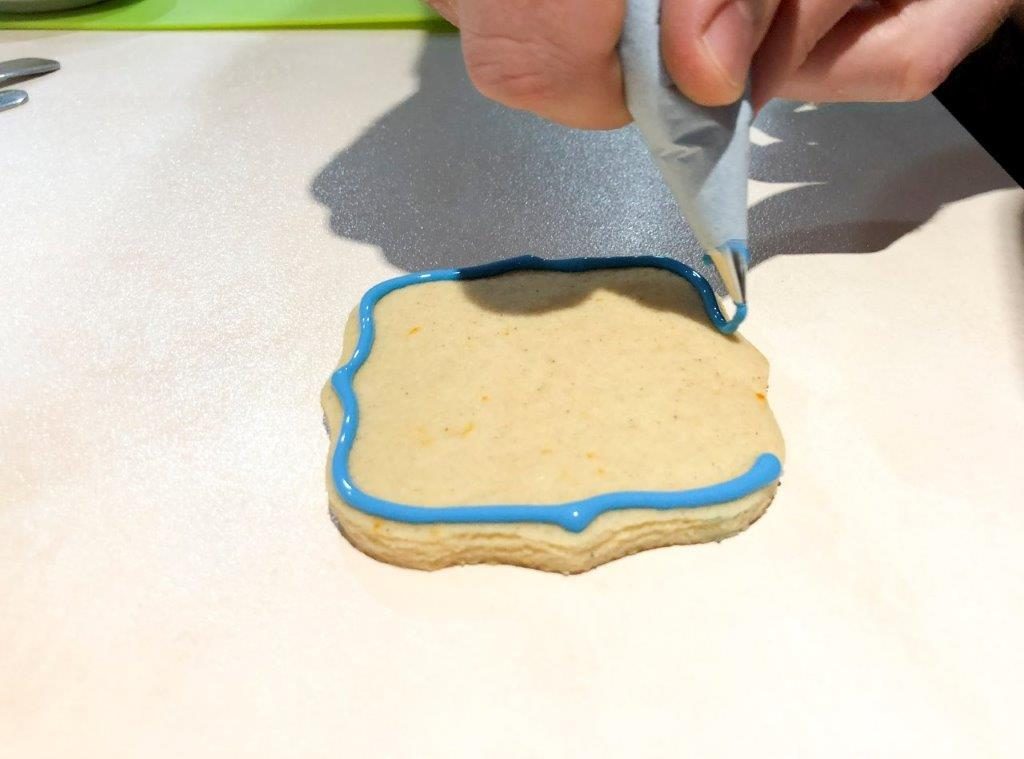
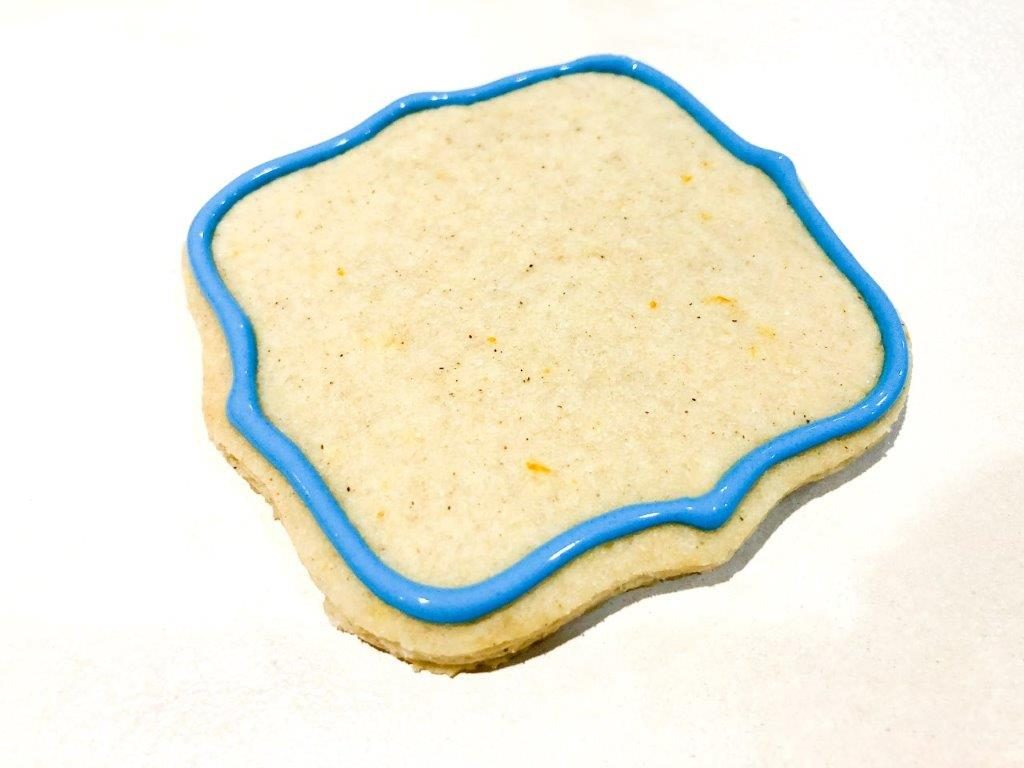
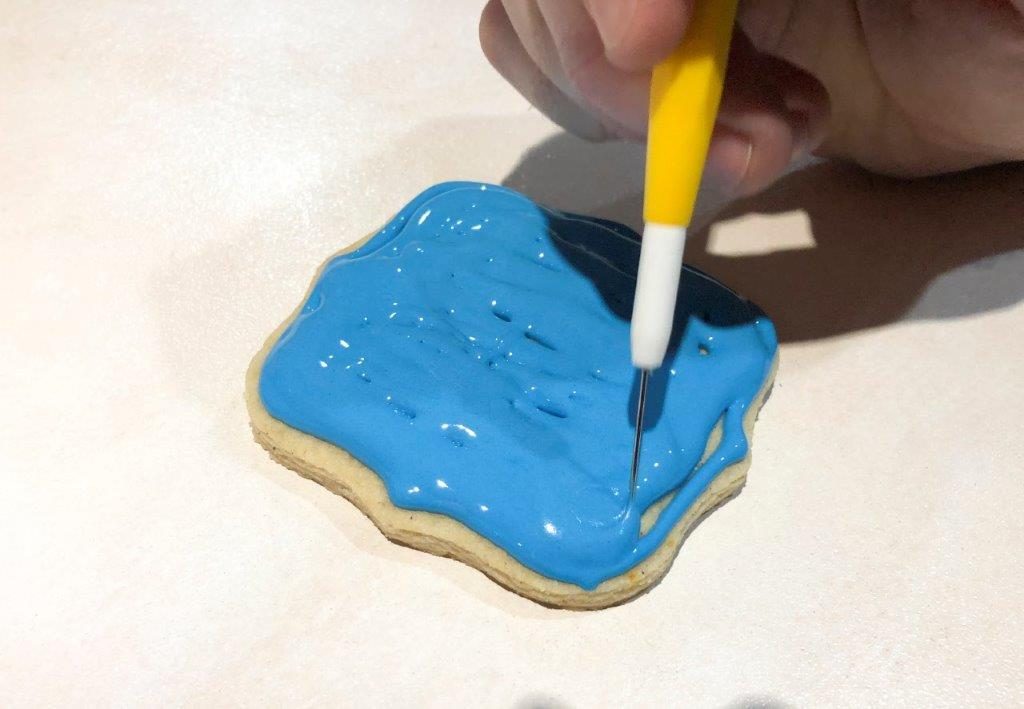
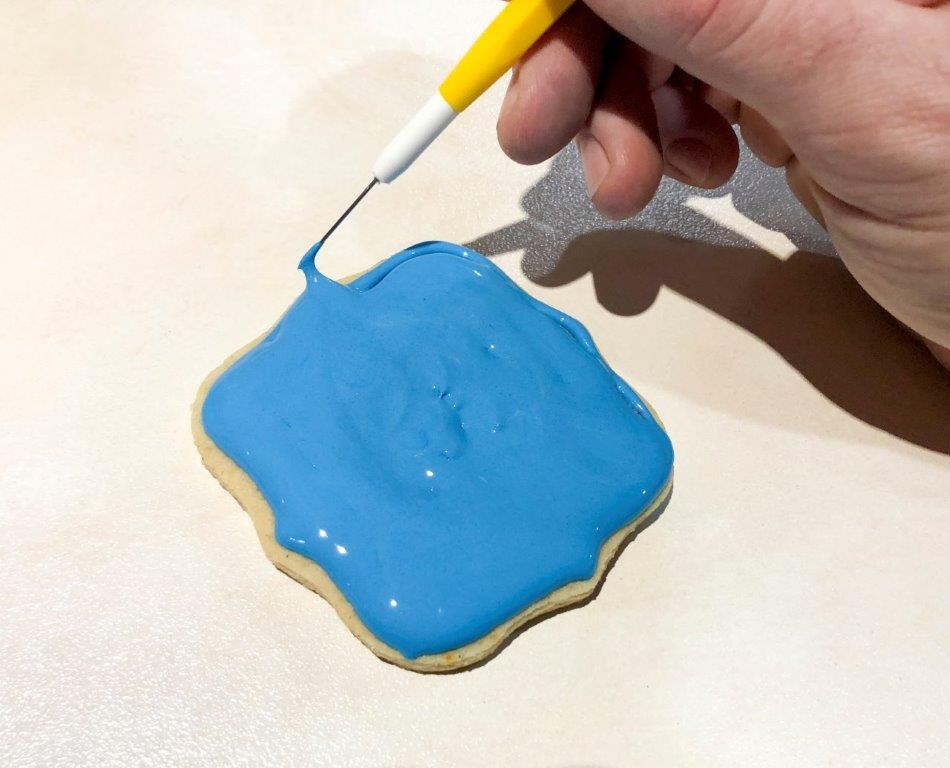
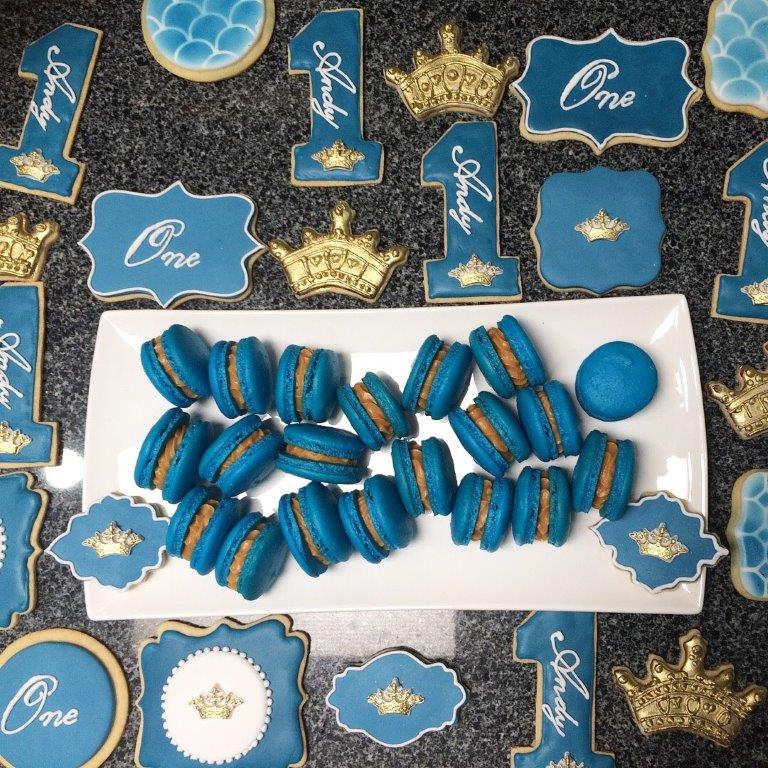
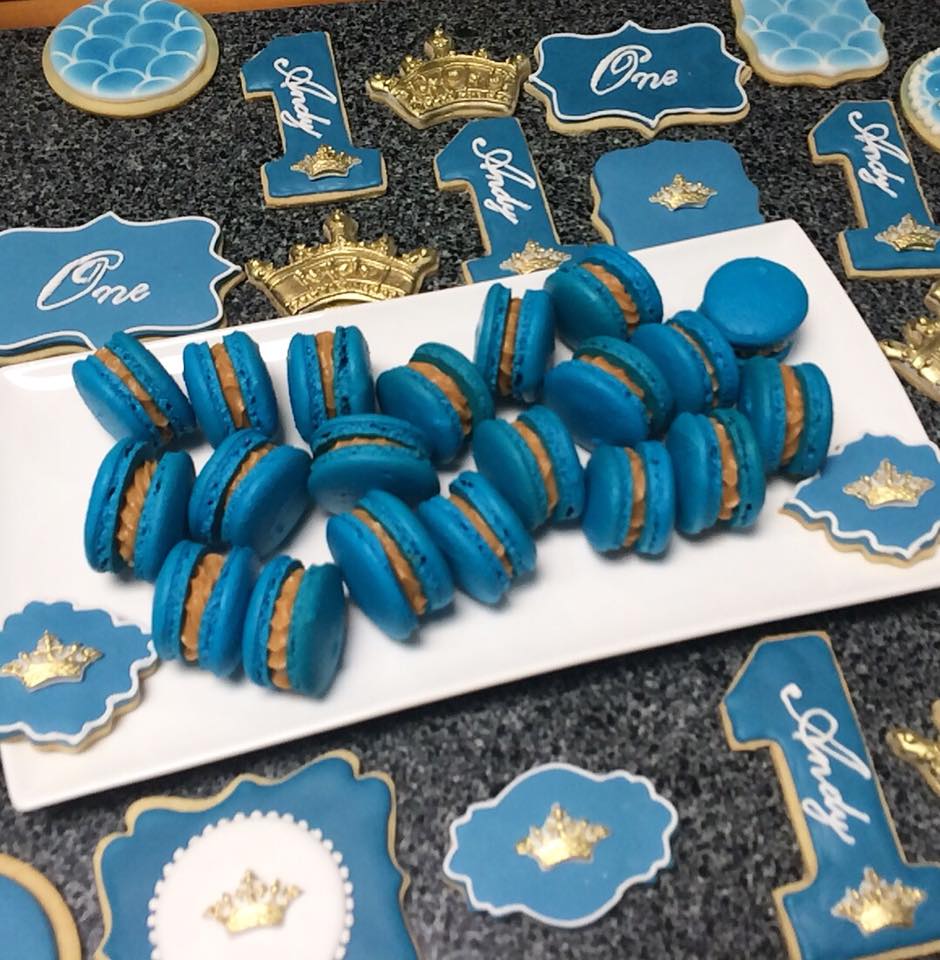
    I quite like working with royal icing but you don’t see it used much these days, except for on cookies.

Comments have been disabled.